
Integrate orq.ai with Cohere using Python SDK
Learn how you can integrate Orq.ai with Cohere using our Python SDK. Conduct prompt management in Orq.ai, perform prompt engineering, request a Deployment variant using the SDK from the code generator, send a payload to Cohere and add additional information to the request. Conduct LLM Ops and prompt engineering like a pro.
August 28, 2023
Author(s)


Orq.ai provides your product teams with no-code collaboration tooling to experiment, operate, and monitor LLMs and remote configurations within your SaaS. Using Orq.ai, you can easily perform prompt engineering, prompt management, experiment in production, push new versions directly to production, and roll back instantly.
Cohere, on the other hand, is an API that offers language processing to any system. It trains massive language models and puts them behind a very simple API.
Source: Cohere
This article guides you through integrating your SaaS with Orq.ai and Cohere using our Python SDK. By the end of the article, you'll know how to set up a Deployment in Orq.ai, perform prompt engineering, request a Deployment variant using our SDK code generator, send a payload to Cohere, and add additional information to the request.
Prerequisites
For you to be able to follow along in this tutorial, you will need the following:
Jupyter Notebook (or any IDE of your choice)
Orq.ai Python SDK
Integration
Follow these steps to integrate the Python SDK with Cohere.
Step 1: Install SDK and create a client instance
To create a client instance, you need to have access to the Orq.ai API key, which can be found in your workspace https://my.orquesta.dev/<workspace-name>/settings/developers
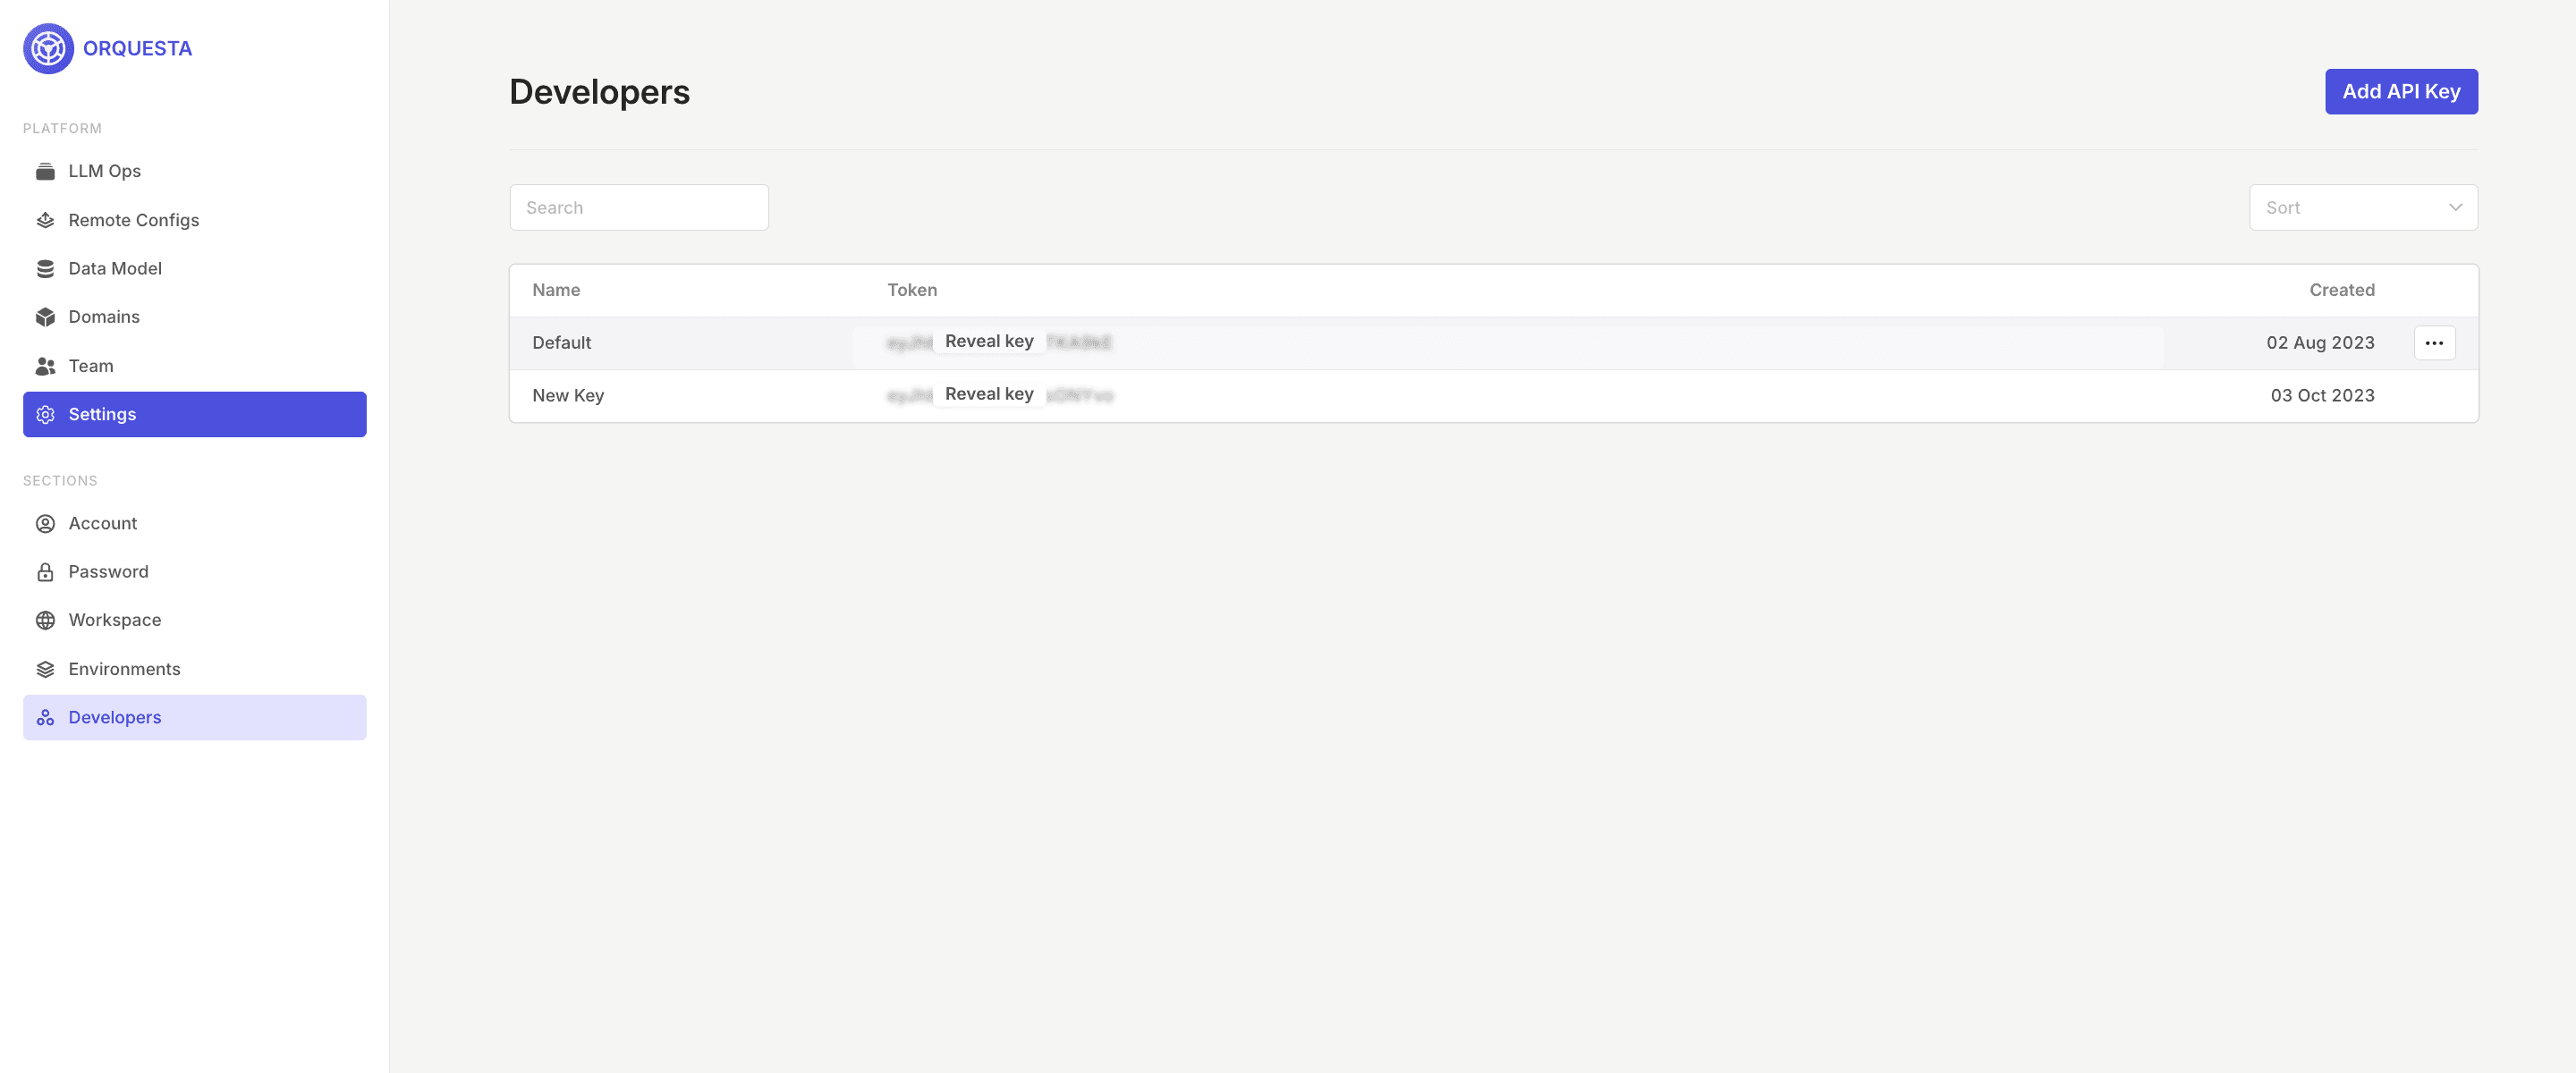
Copy it and add the following code to your notebook to initialize the Orq.ai client:
Explanation:
Import
cohere, to be able to use the APIThe
Orquestaand theOrquestaClientOptionsclasses that are already defined in theorquesta_sdkmodule, are imported.The API key, which is used for authentication, is assigned to the variable
api_key, you can either add the API key this way or you can add it using the environment variableapi_key = os.environ.get("ORQUESTA_API_KEY", "__API_KEY__"). The instance of the OrquestaClientOptions class is created and configured with theapi_keyand theenvironment.Finally, an instance of the
OrquestaClientclass is created and initialized with the previously configured options object. Thisclientinstance can now interact with the Orquesta service using the provided API key for authentication.
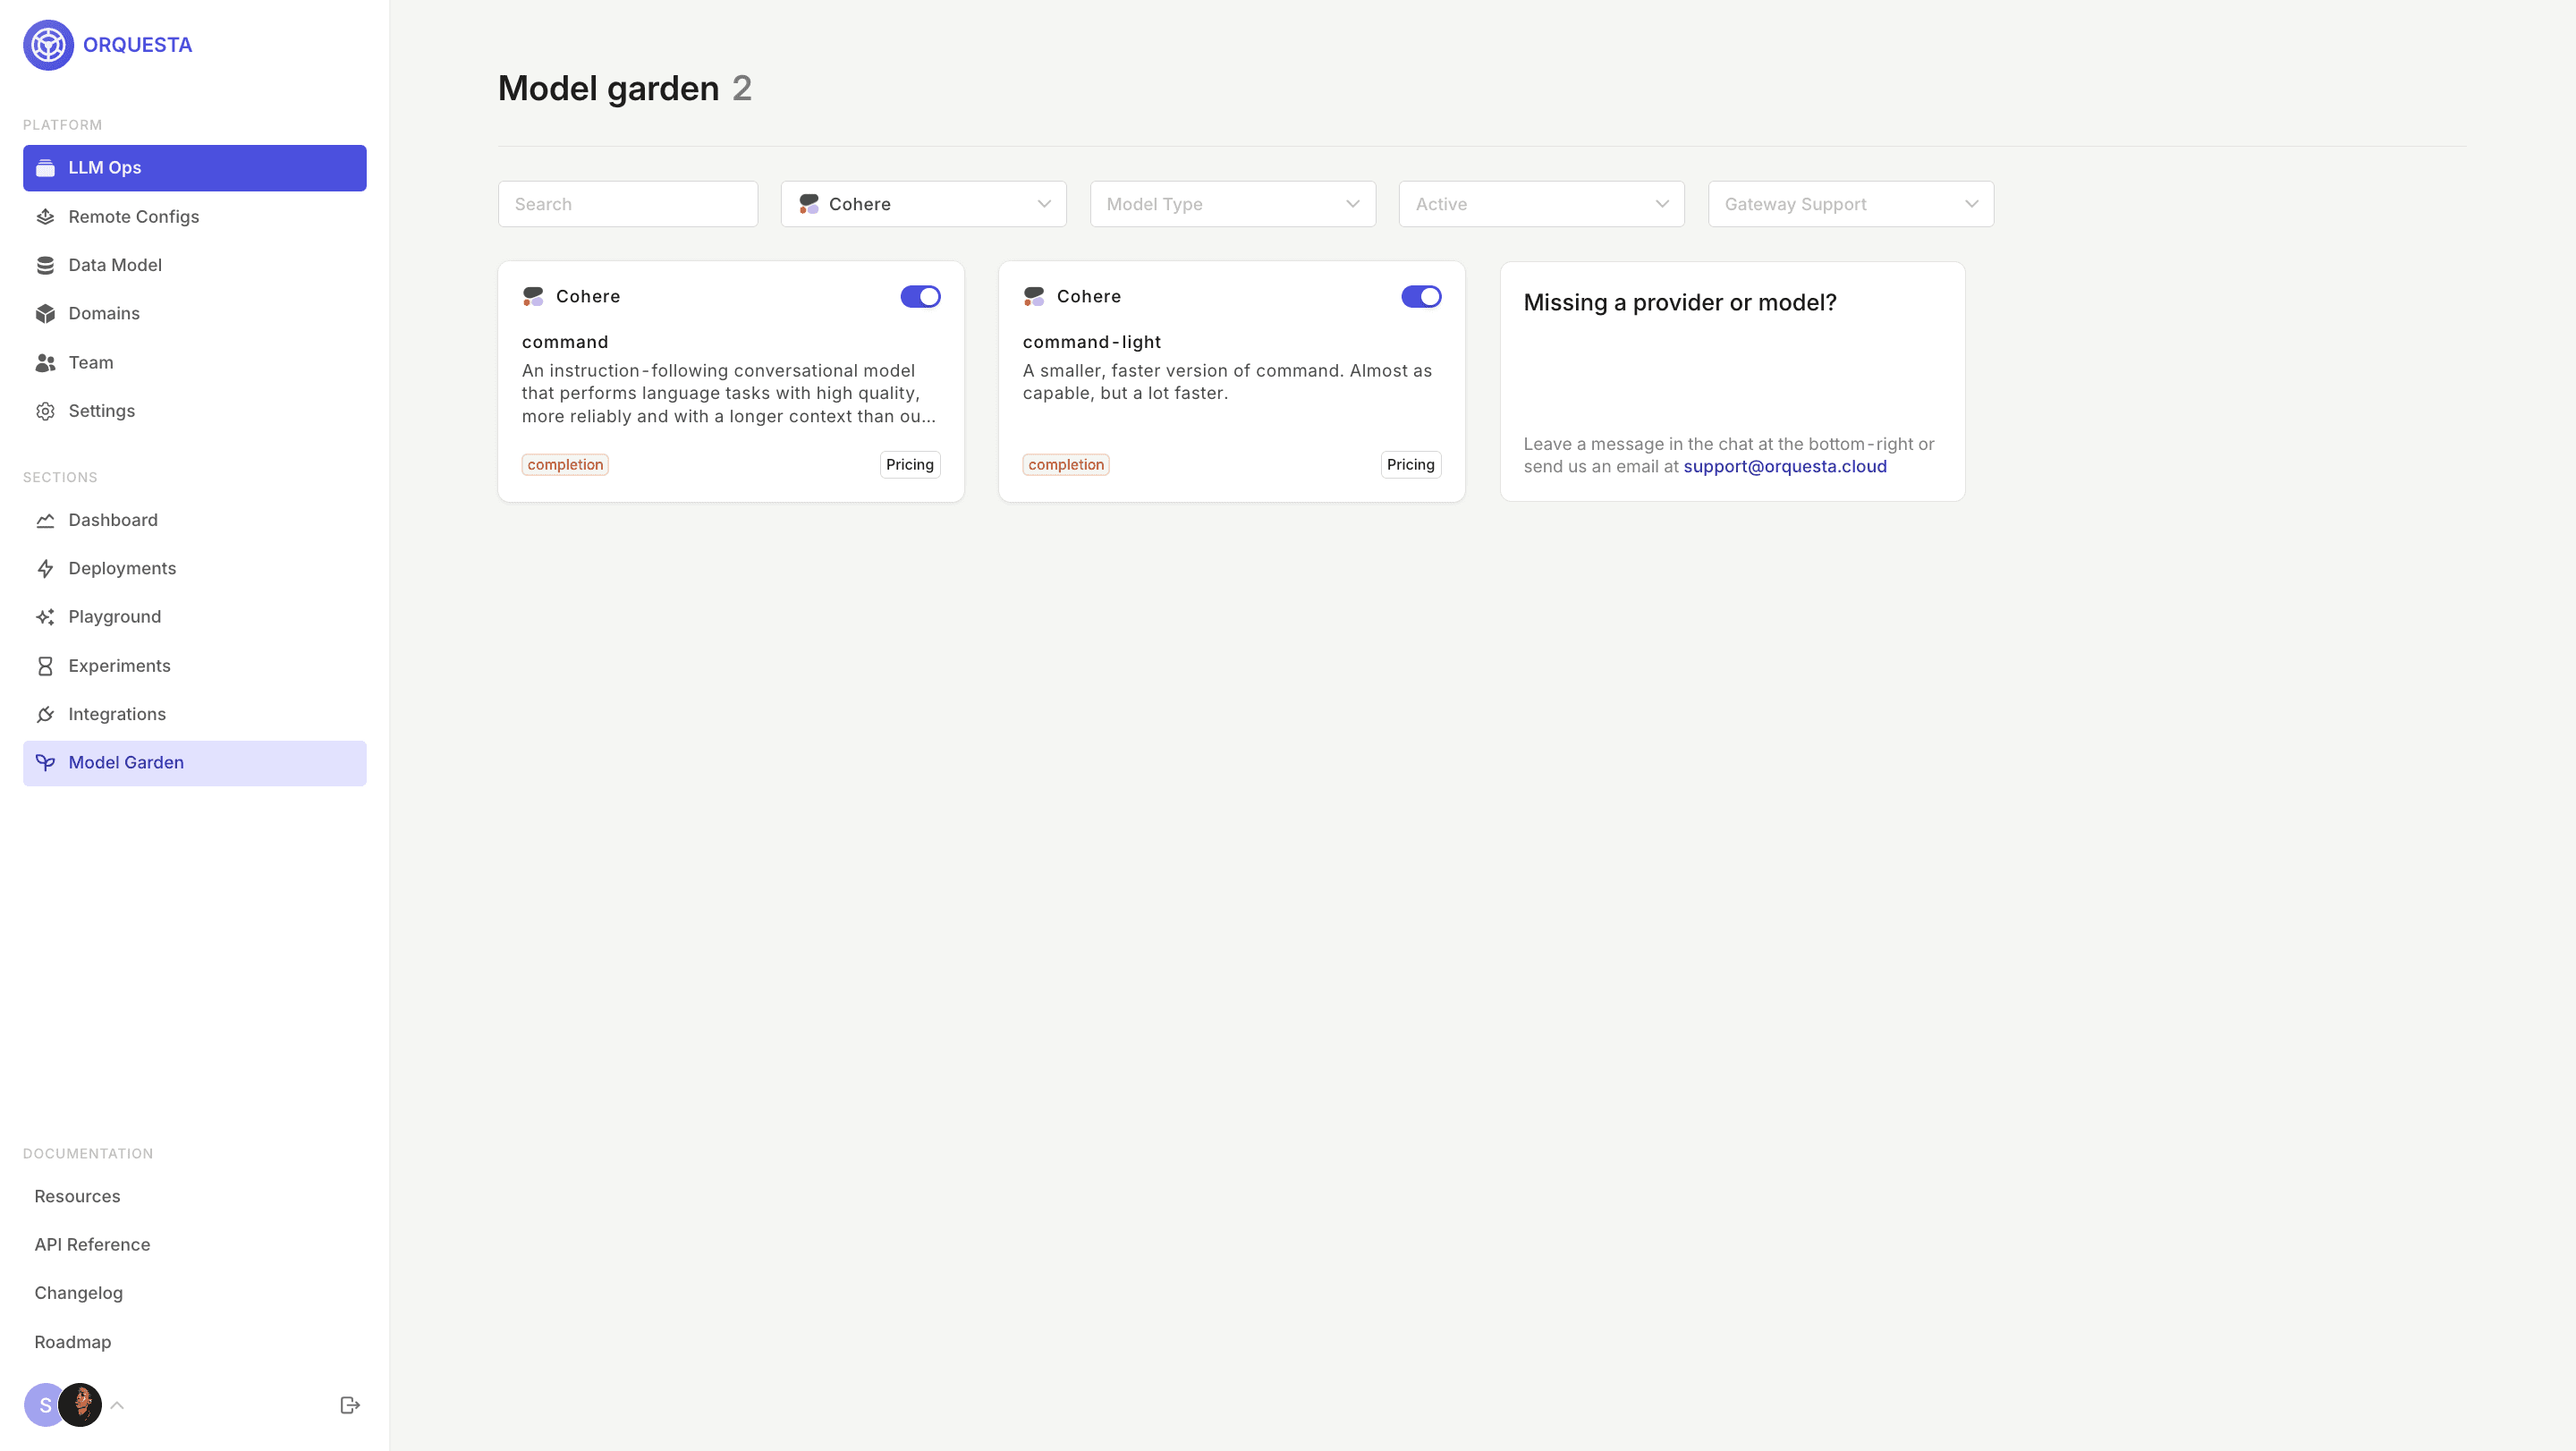
Step 2: Enable Cohere models in the Model Garden
Head over to Orquesta's Model Garden and enable the Cohere models you want to use.
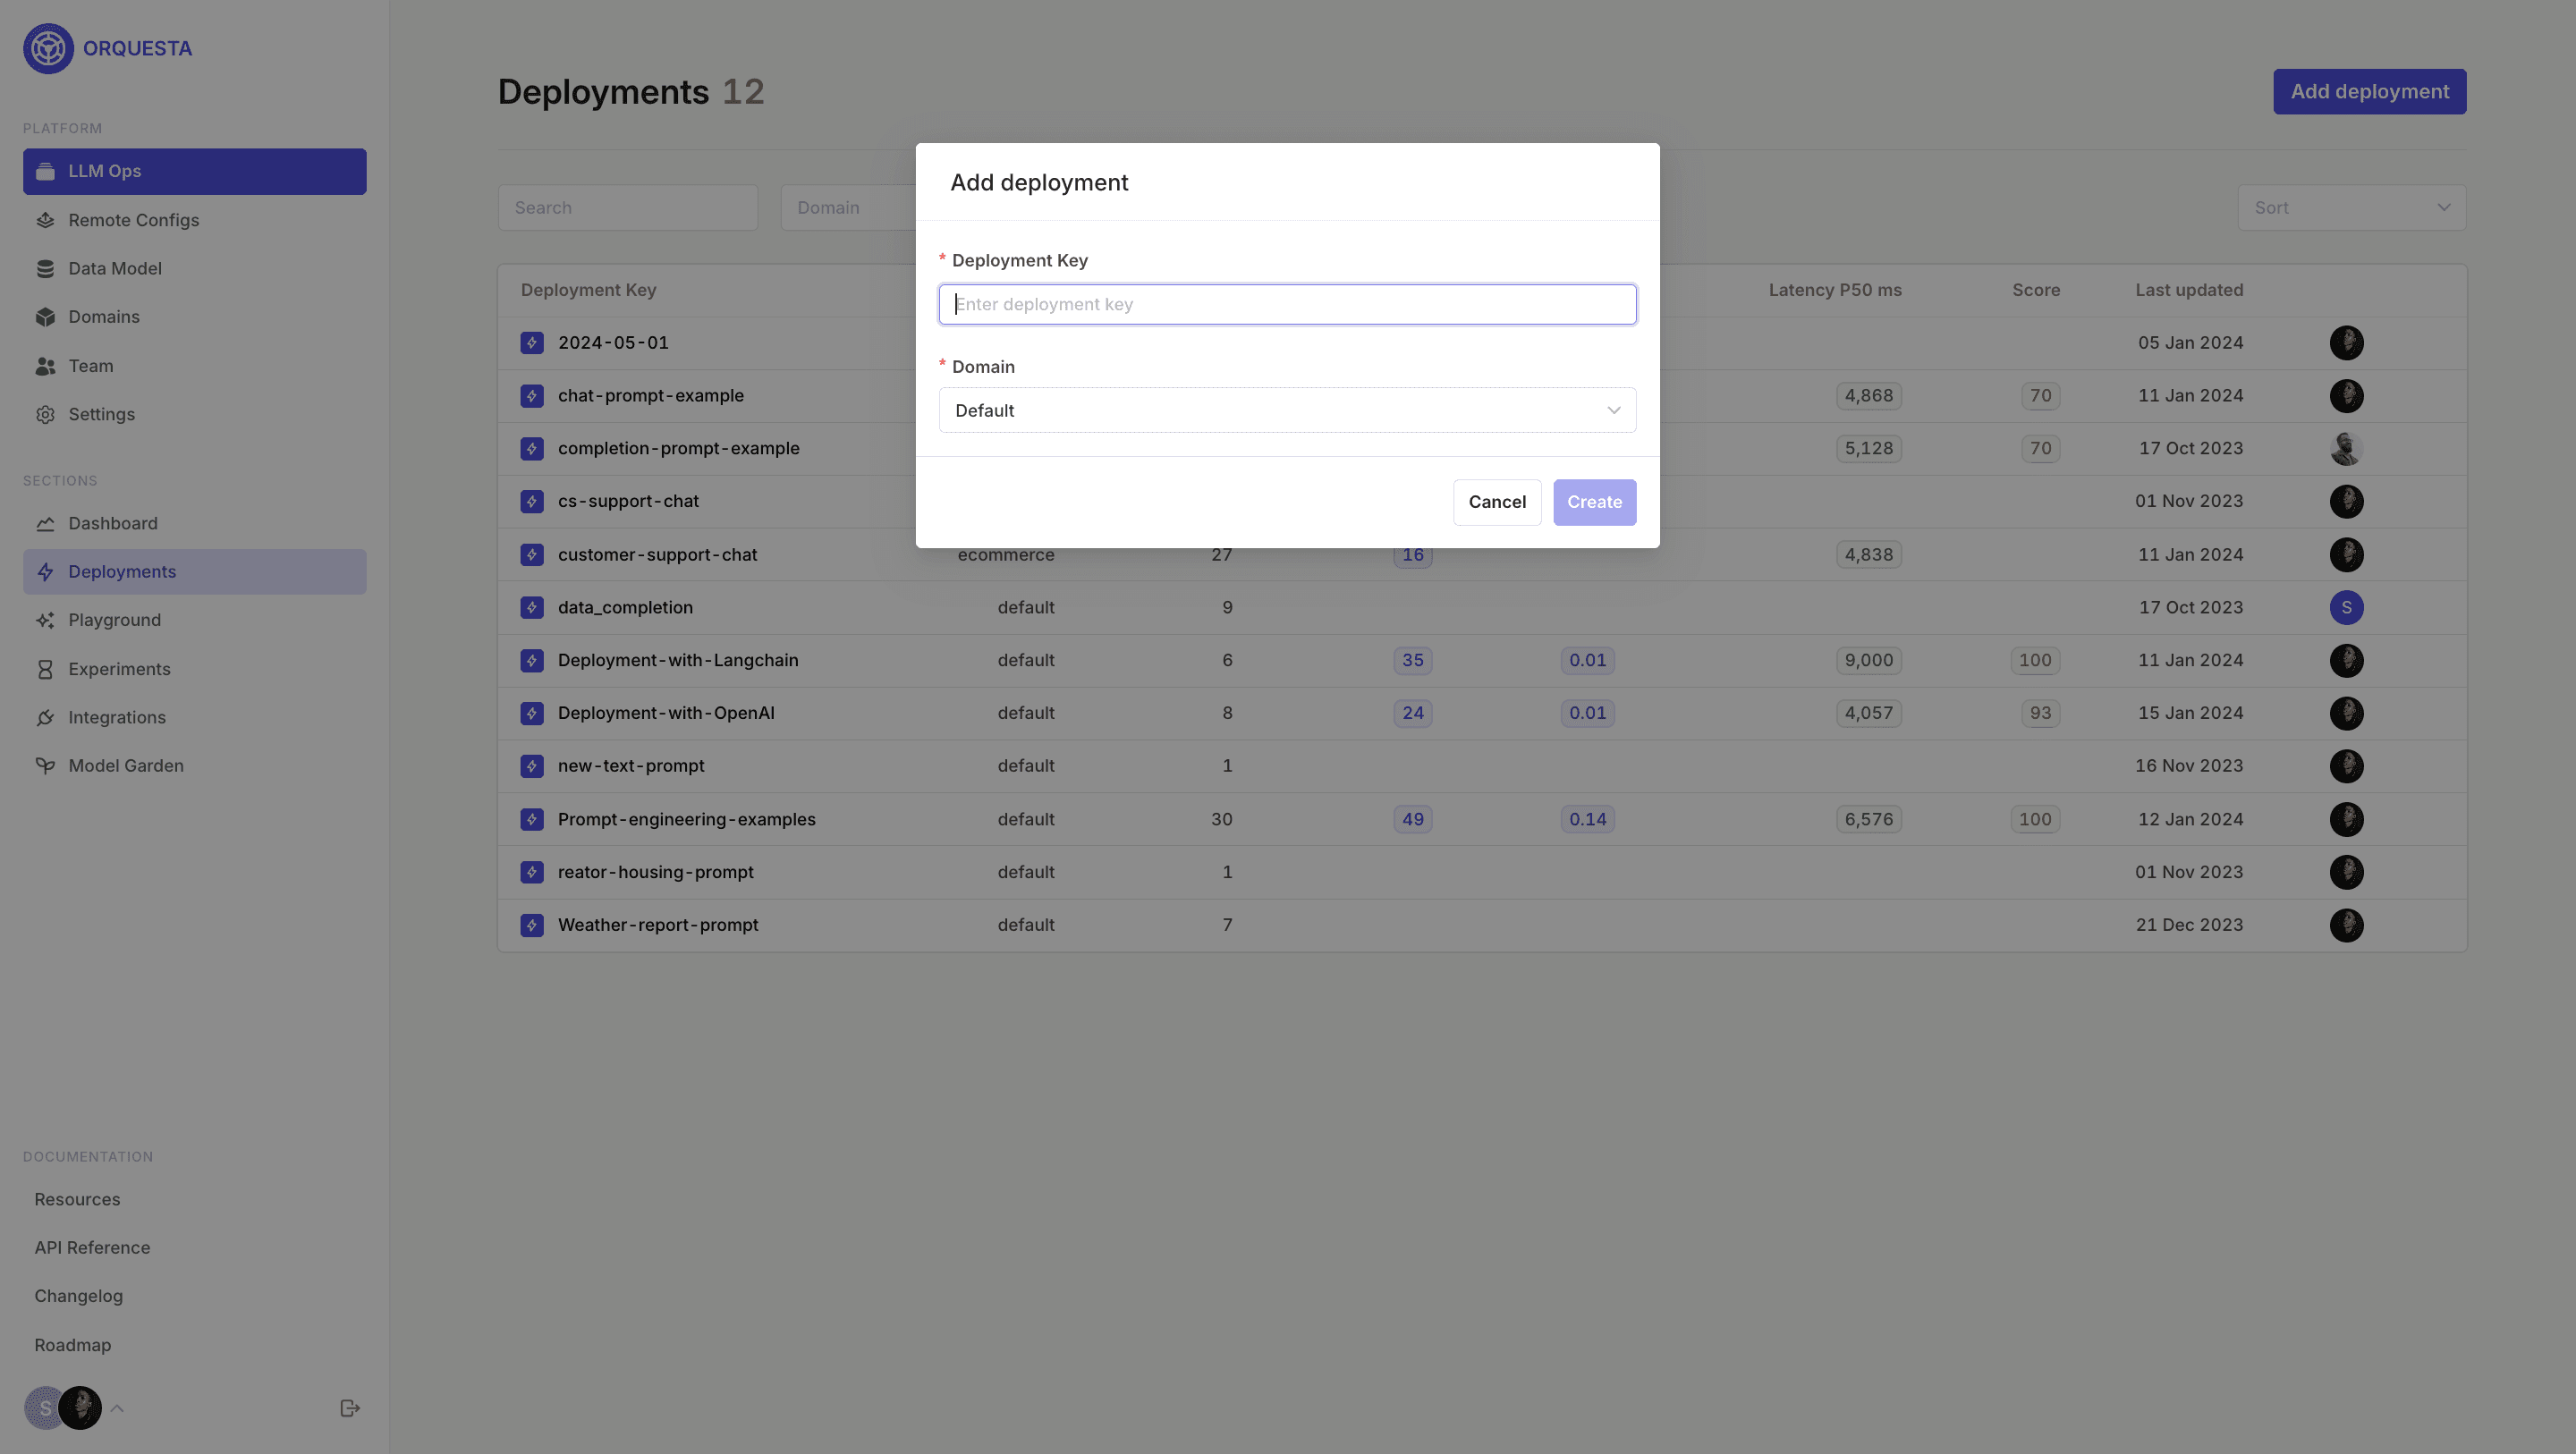
Step 3: Set up a Deployment
Within the Orquesta Admin Panel set up your Deployment. To create a Deployment, click on Add Deployment , input your Deployment key and Domain.
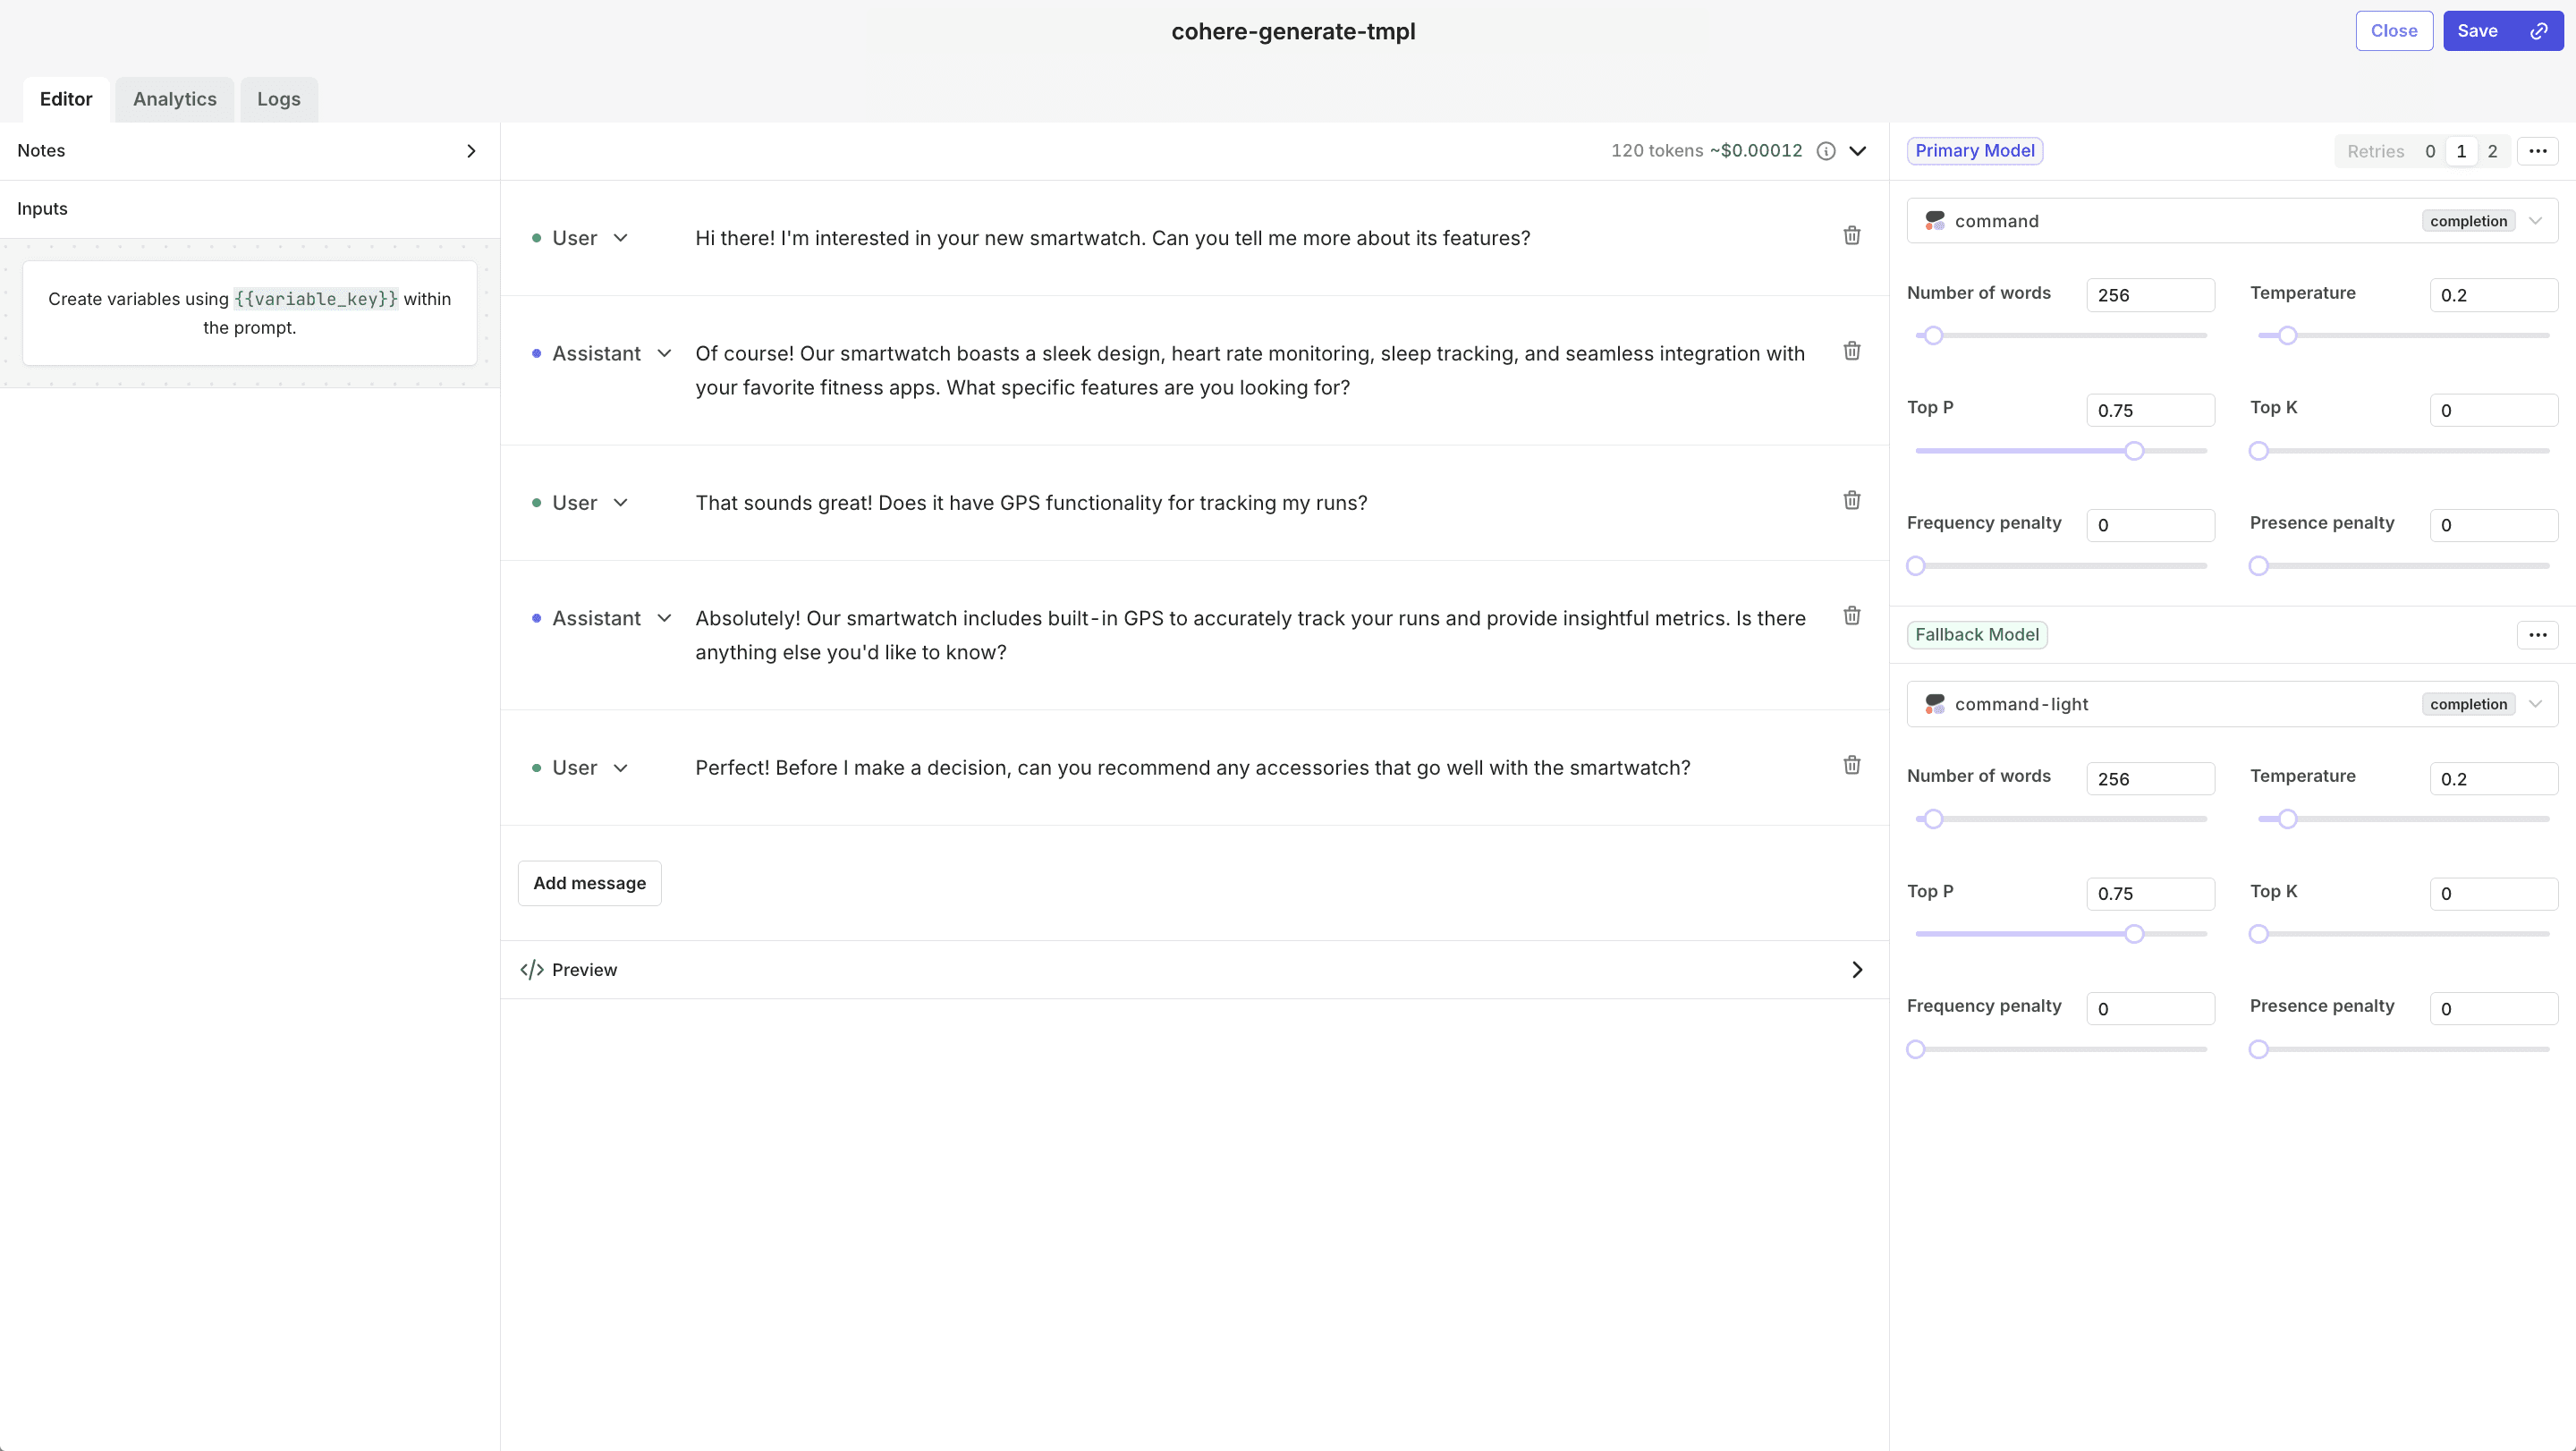
Once set up, create your first Deployment variant, add the prompt messages, primary model, fallback model, number of retries, and click Save.
Step 4: Request a Deployment variant
Our flexible configuration matrix allows you to define multiple Deployment variants based on custom context. This allows you to work with different Deployments and hyperparameters, the Code Snippet Generator also makes it easy to request a Deployment variant.
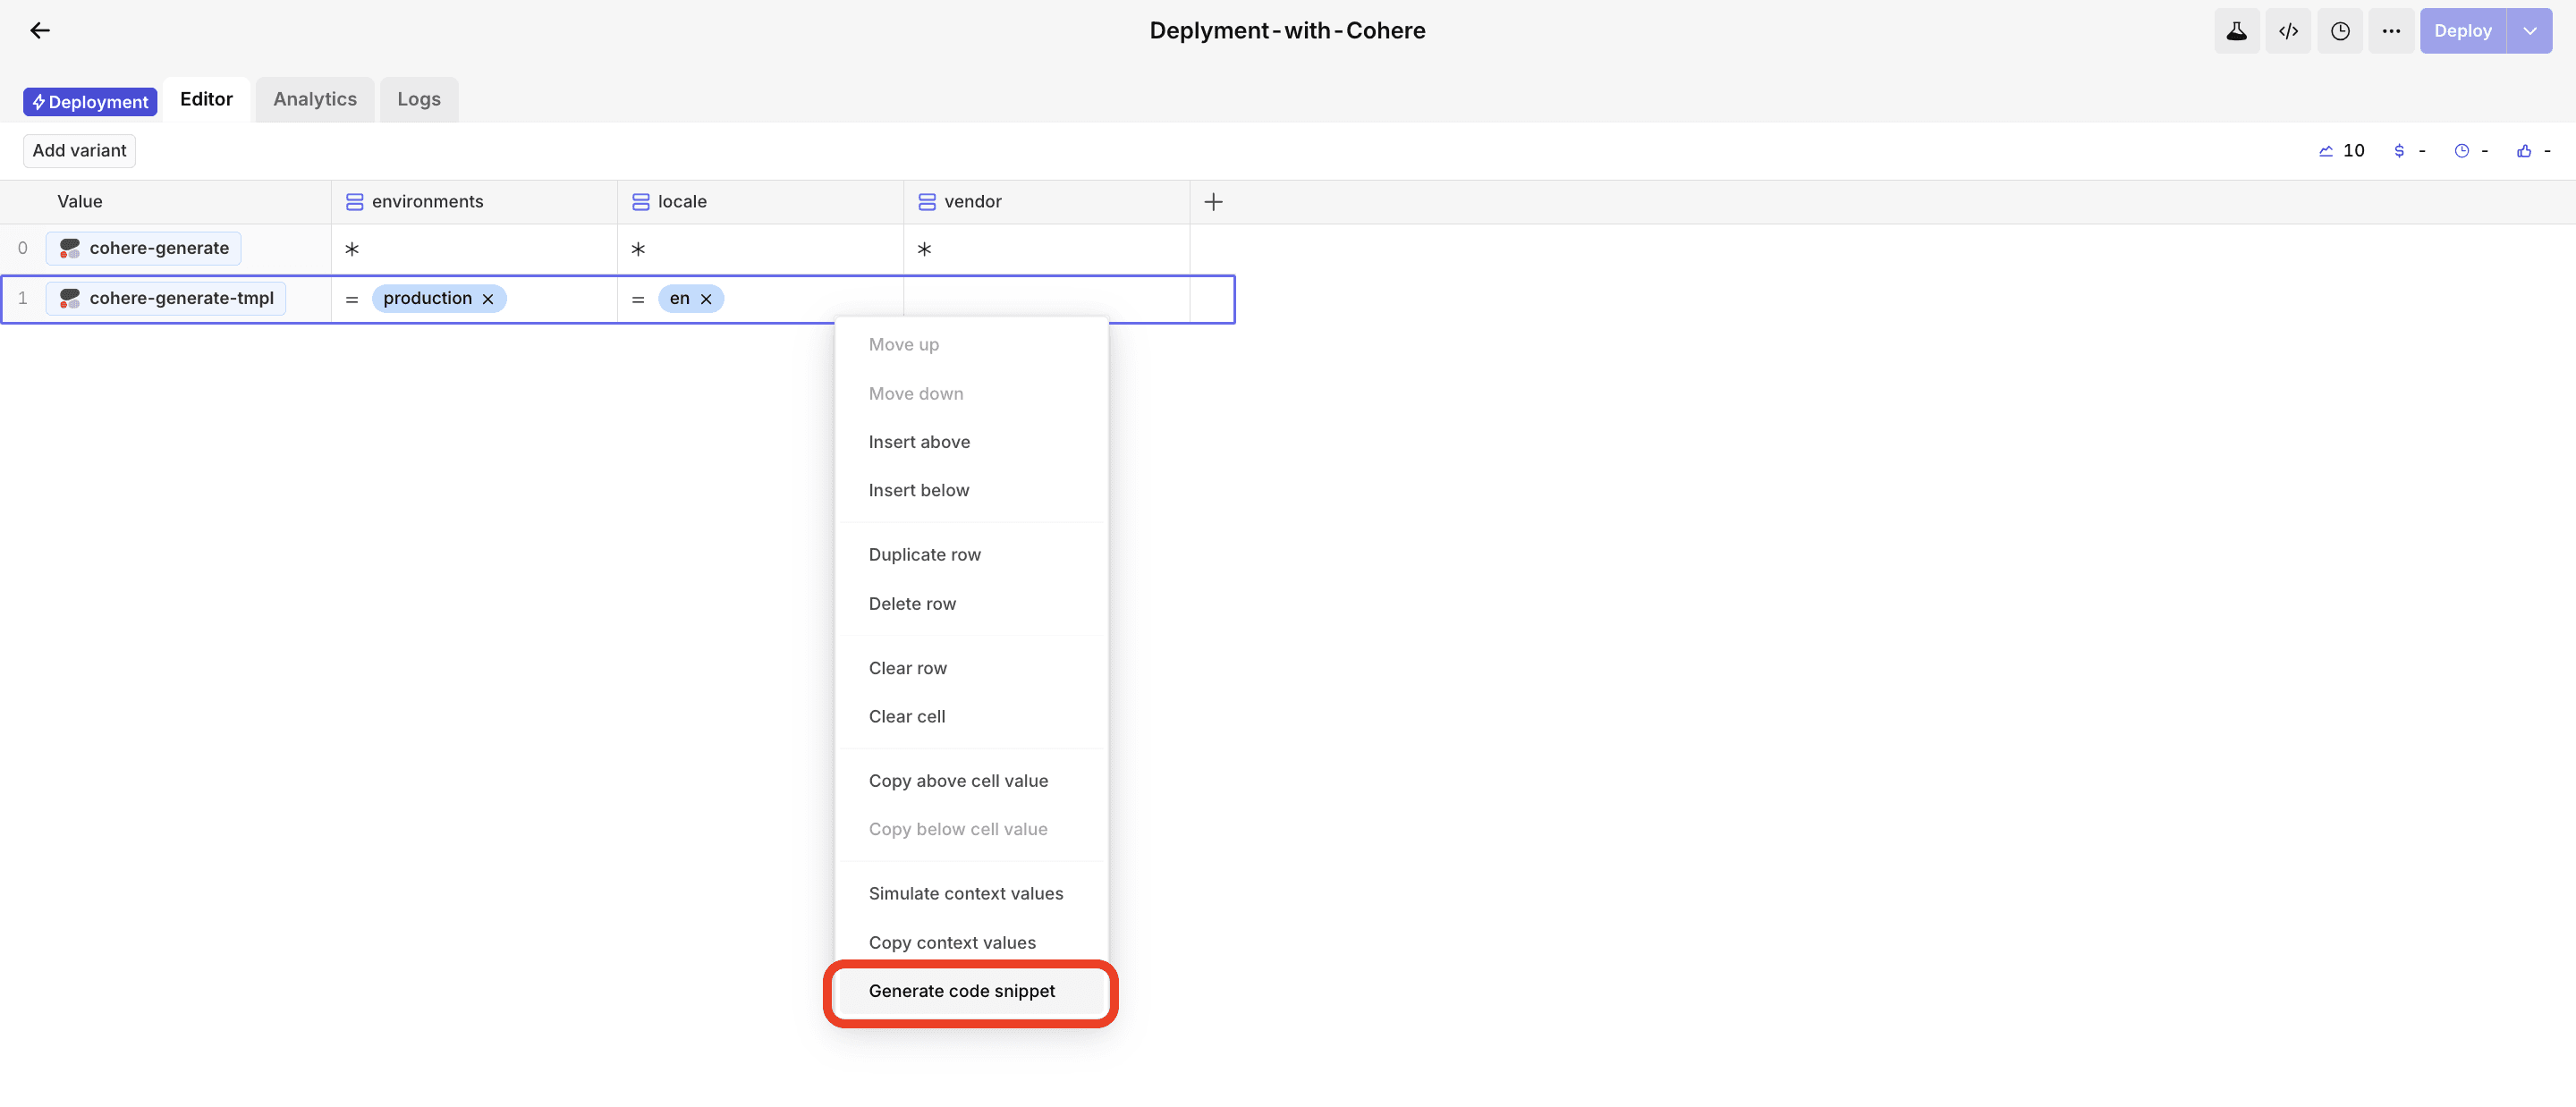
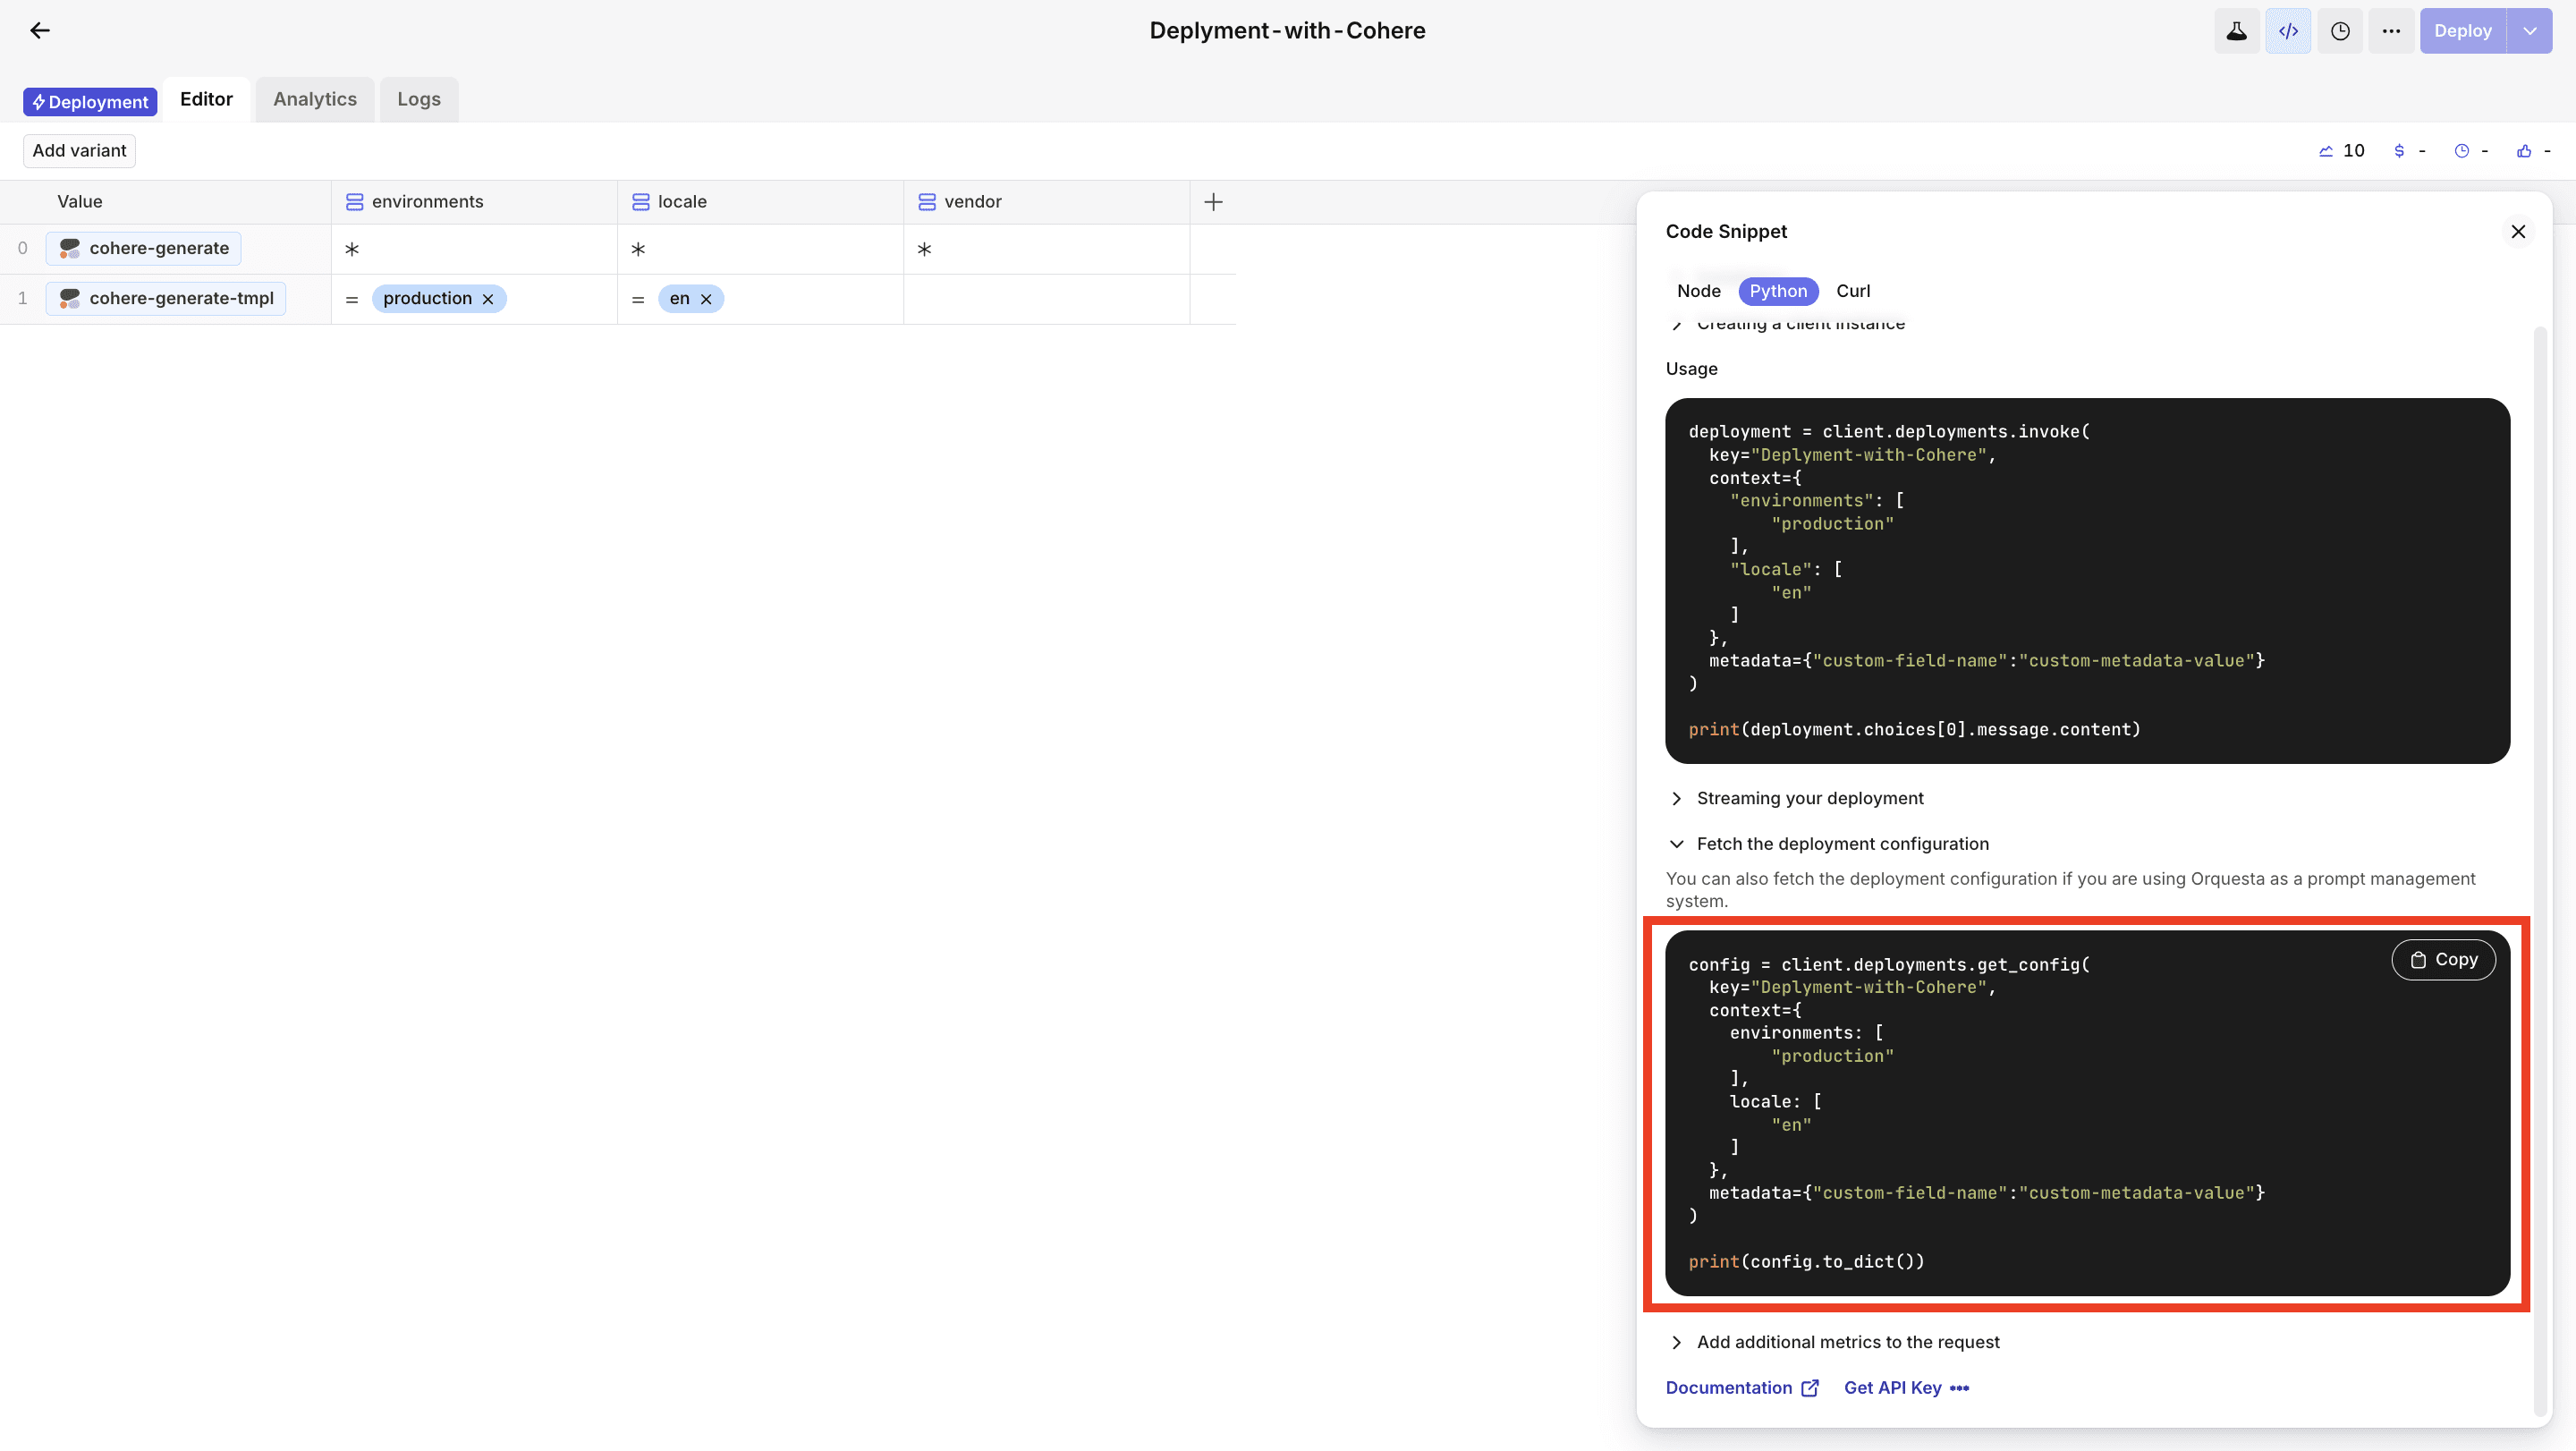
Copy the code snippet and paste it into your editor.
Step 5: Send the request to Cohere
For us to be able to get a response from the Cohere API, we have to send a request and get a response.
But first, let's convert the array of messages to a single string.
Initialize the Cohere client and generate.
Explanation:
We initialize a Cohere client (
co) using theClientclass from thecoheremodule.It takes a single argument: a string representing your Cohere API key. Replace
'COHERE_API_KEY'with your actual Cohere API key.The
co.generate()line calls thegeneratemethod on the Cohere client (co) to generate text based on a given prompt.model: The model identifier obtained from thedeployment_config. It specifies the language model to use.prompt: The input prompt for text generation. In this case, it's a string constructed from the messages indeployment_config.temperature: A parameter controlling the randomness of the generated text.max_tokens: A parameter specifying the maximum number of tokens (words or characters) in the generated text.
Step 6: Add additional metrics to the request
Add metrics to each transaction using the add_metrics method. Below, you can find an example with all the supersets of metrics that can be reported.
Conclusion
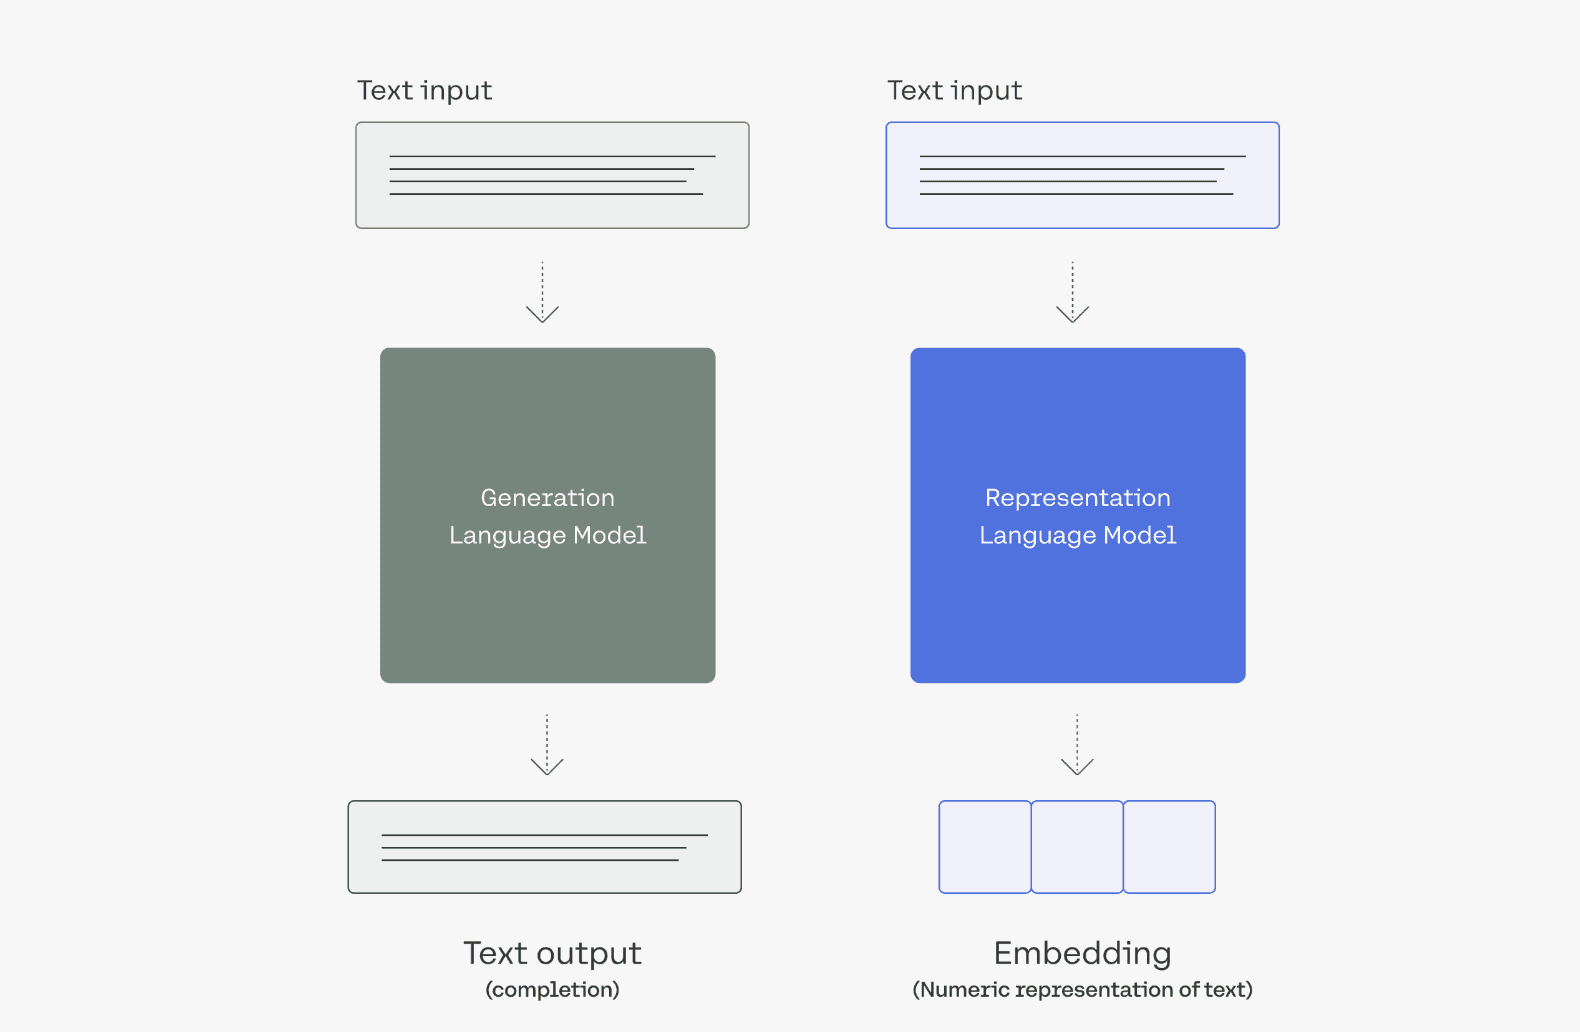
With these easy steps, you have successfully integrated Orq.ai with Cohere, and this is just the tip of the iceberg because, as of the time of writing this article, Orq.ai only supports the generate() endpoint, but in the future, you can use the other endpoints, such as embed, classify, summarize, detect-language, etc.