
Integrate orq.ai with OpenAI using Python SDK
Learn how you can integrate Orq.ai with OpenAI using the Python SDK. Set up a prompt in Orq.ai, perform prompt engineering, request a variant using the SDK from the code generator, map the response of Orq.ai with OpenAI, send a payload to OpenAi and report the response back to Orq.ai. Conduct LLM Ops like a pro
August 11, 2023
Author(s)


Orq.ai is a powerful LLM Ops suite that manages public and private LLMs (Large Language Models) from a single source. It offers full transparency on performance and costs while reducing your release cycles from weeks to minutes. Integrating Orq.ai into your current setup or a new workflow requires a couple of lines of code, ensuring seamless collaboration and transparency in prompt engineering and prompt management for your team.
With Orq.ai, you gain access to several LLM Ops features, enabling your team to:
Collaborate directly across product, engineering, and domain expert teams
Manage prompts for both public and private LLM models
Customize and localize prompt variants based on your data model
Push new versions directly to production and roll back instantly
Obtain model-specific tokens and cost estimates
Gain insights into model-specific costs, performance, and latency
Gather both quantitative and qualitative end-user feedback
Experiment in production and gather real-world feedback
Make decisions grounded in real-world information
This article guides you through integrating your SaaS with Orq.ai and OpenAI using our Python SDK. By the end of the article, you'll know how to set up a Deployment in Orq.ai, perform prompt engineering, request a Deployment configuration, send the payload to OpenAI, and log additional information back to Orq.ai.
Prerequisites
For you to be able to follow along in this tutorial, you will need the following:
Jupyter Notebook (or any IDE of your choice)
An OpenAI account, you can sign up here
Orq.ai Python SDK
Integration
Follow these steps to integrate the Python SDK with OpenAI.
Step 1: Install SDK and create a client instance
Orq.ai allows you to pick and enable the models of your choice and work with them. Enabling a model(s) is very easy; all you have to do is navigate to the Model Garden and toggle on the model of your choice.

To create a client instance, you need to have access to the Orq.ai API key, which can be found in your workspace https://my.orquesta.dev/<workspace-name>/settings/developers
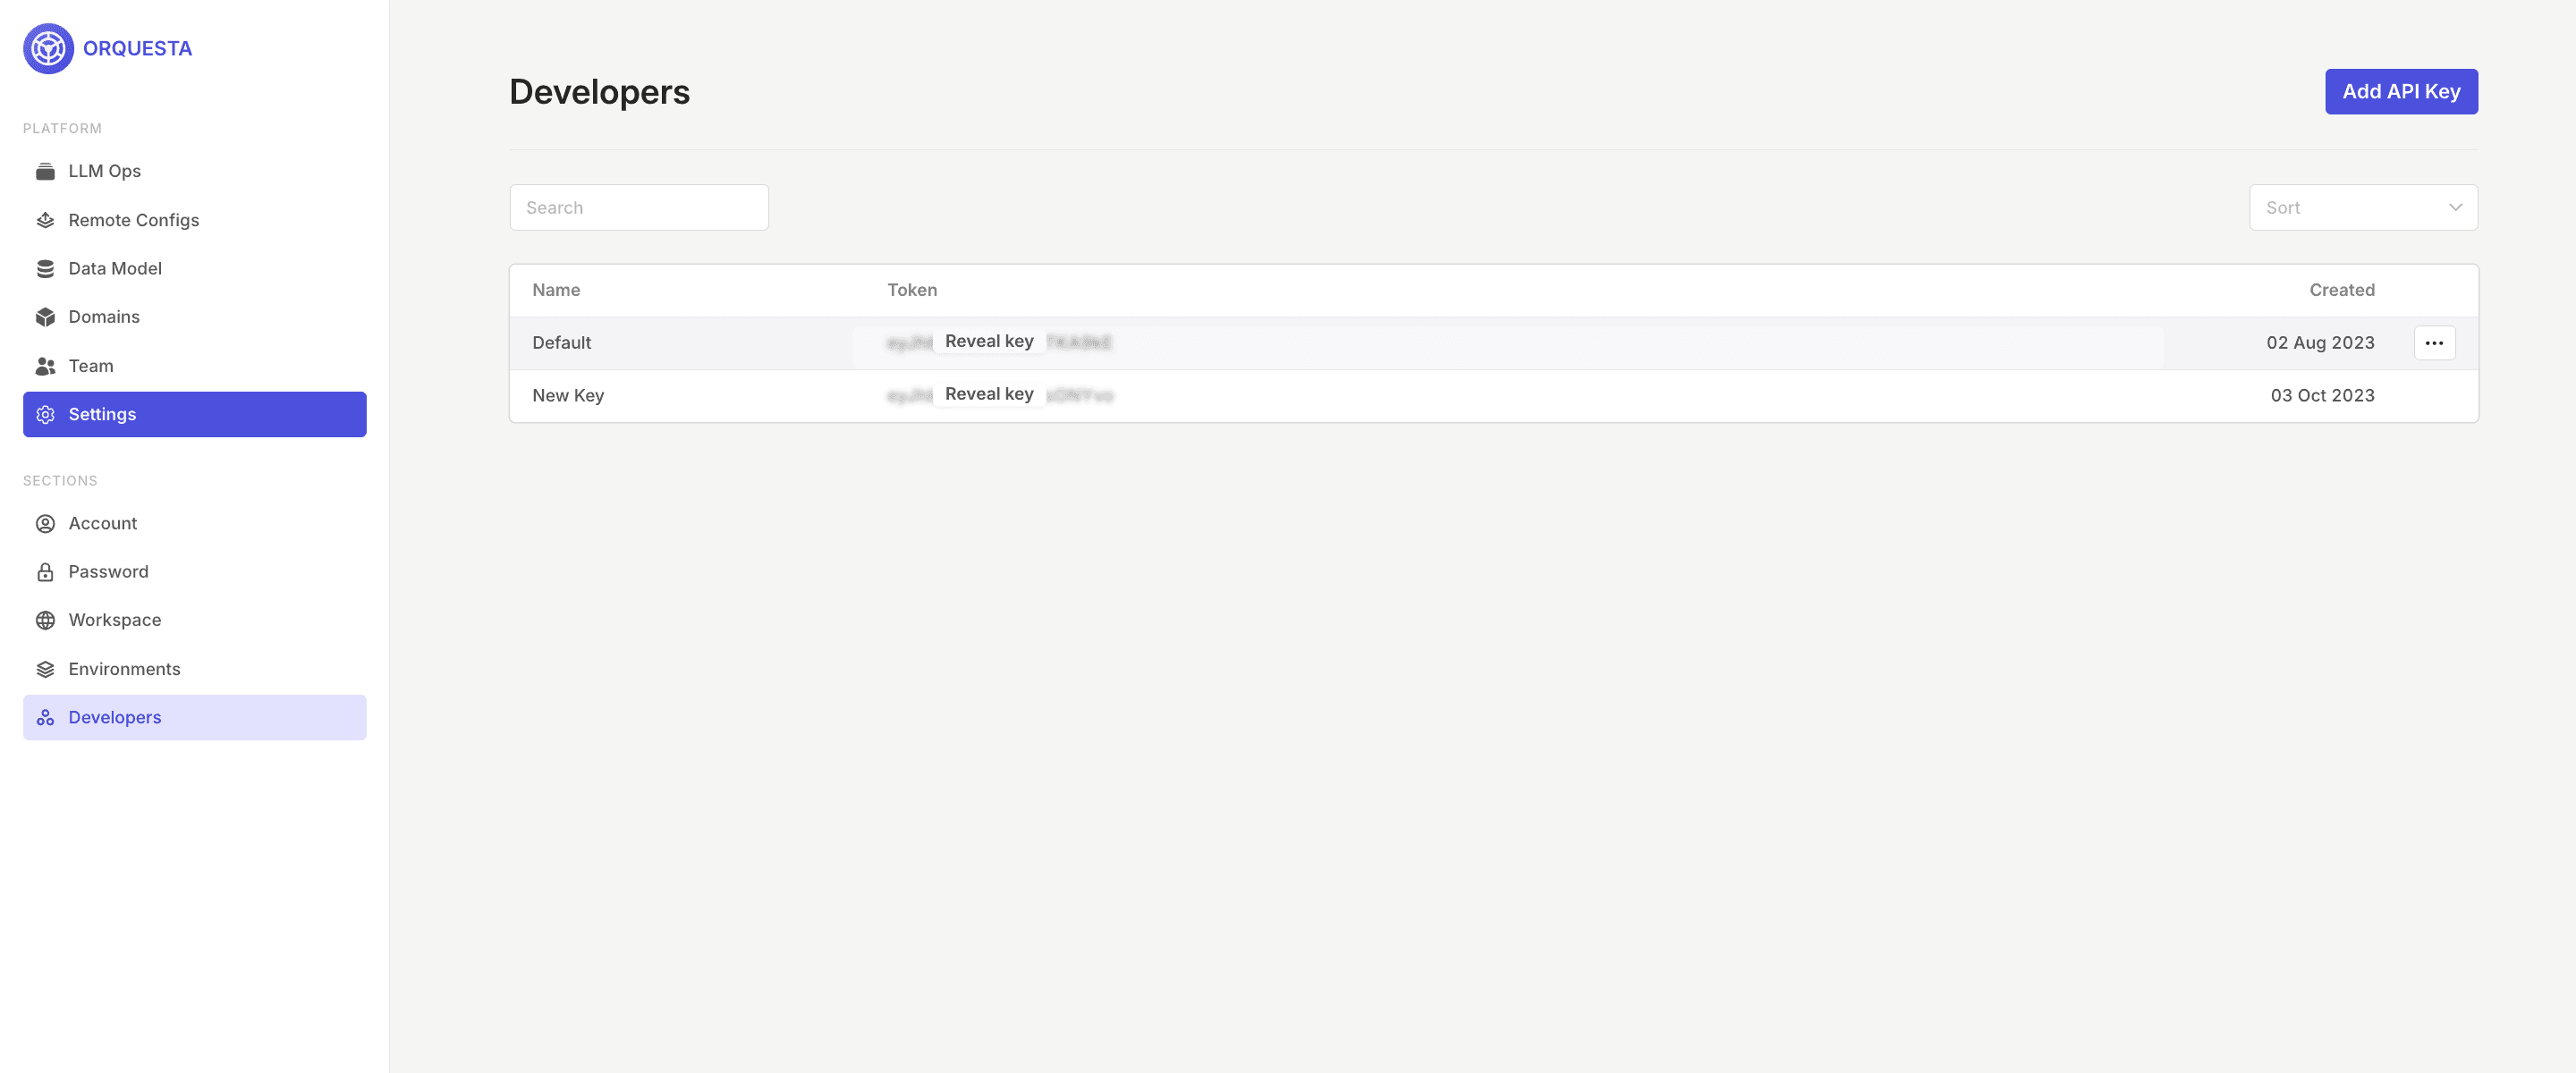
Copy it and add the following code to your notebook to initialize the Orq.ai client:
The Orquesta and the OrquestaClientOptions classes that are already defined in the orquesta_sdk module are imported. The API key, which is used for authentication, is assigned to the variable api_key, you can either add the API key this way or you can add it using the environment variable api_key = os.environ.get("ORQUESTA_API_KEY", "__API_KEY__"). The instance of the OrquestaClientOptions class is created and configured with the api_key and the environment .
Finally, an instance of the Orquesta class is created and initialized with the previously configured options object. This client instance can now interact with the Orq.ai service using the provided API key for authentication.
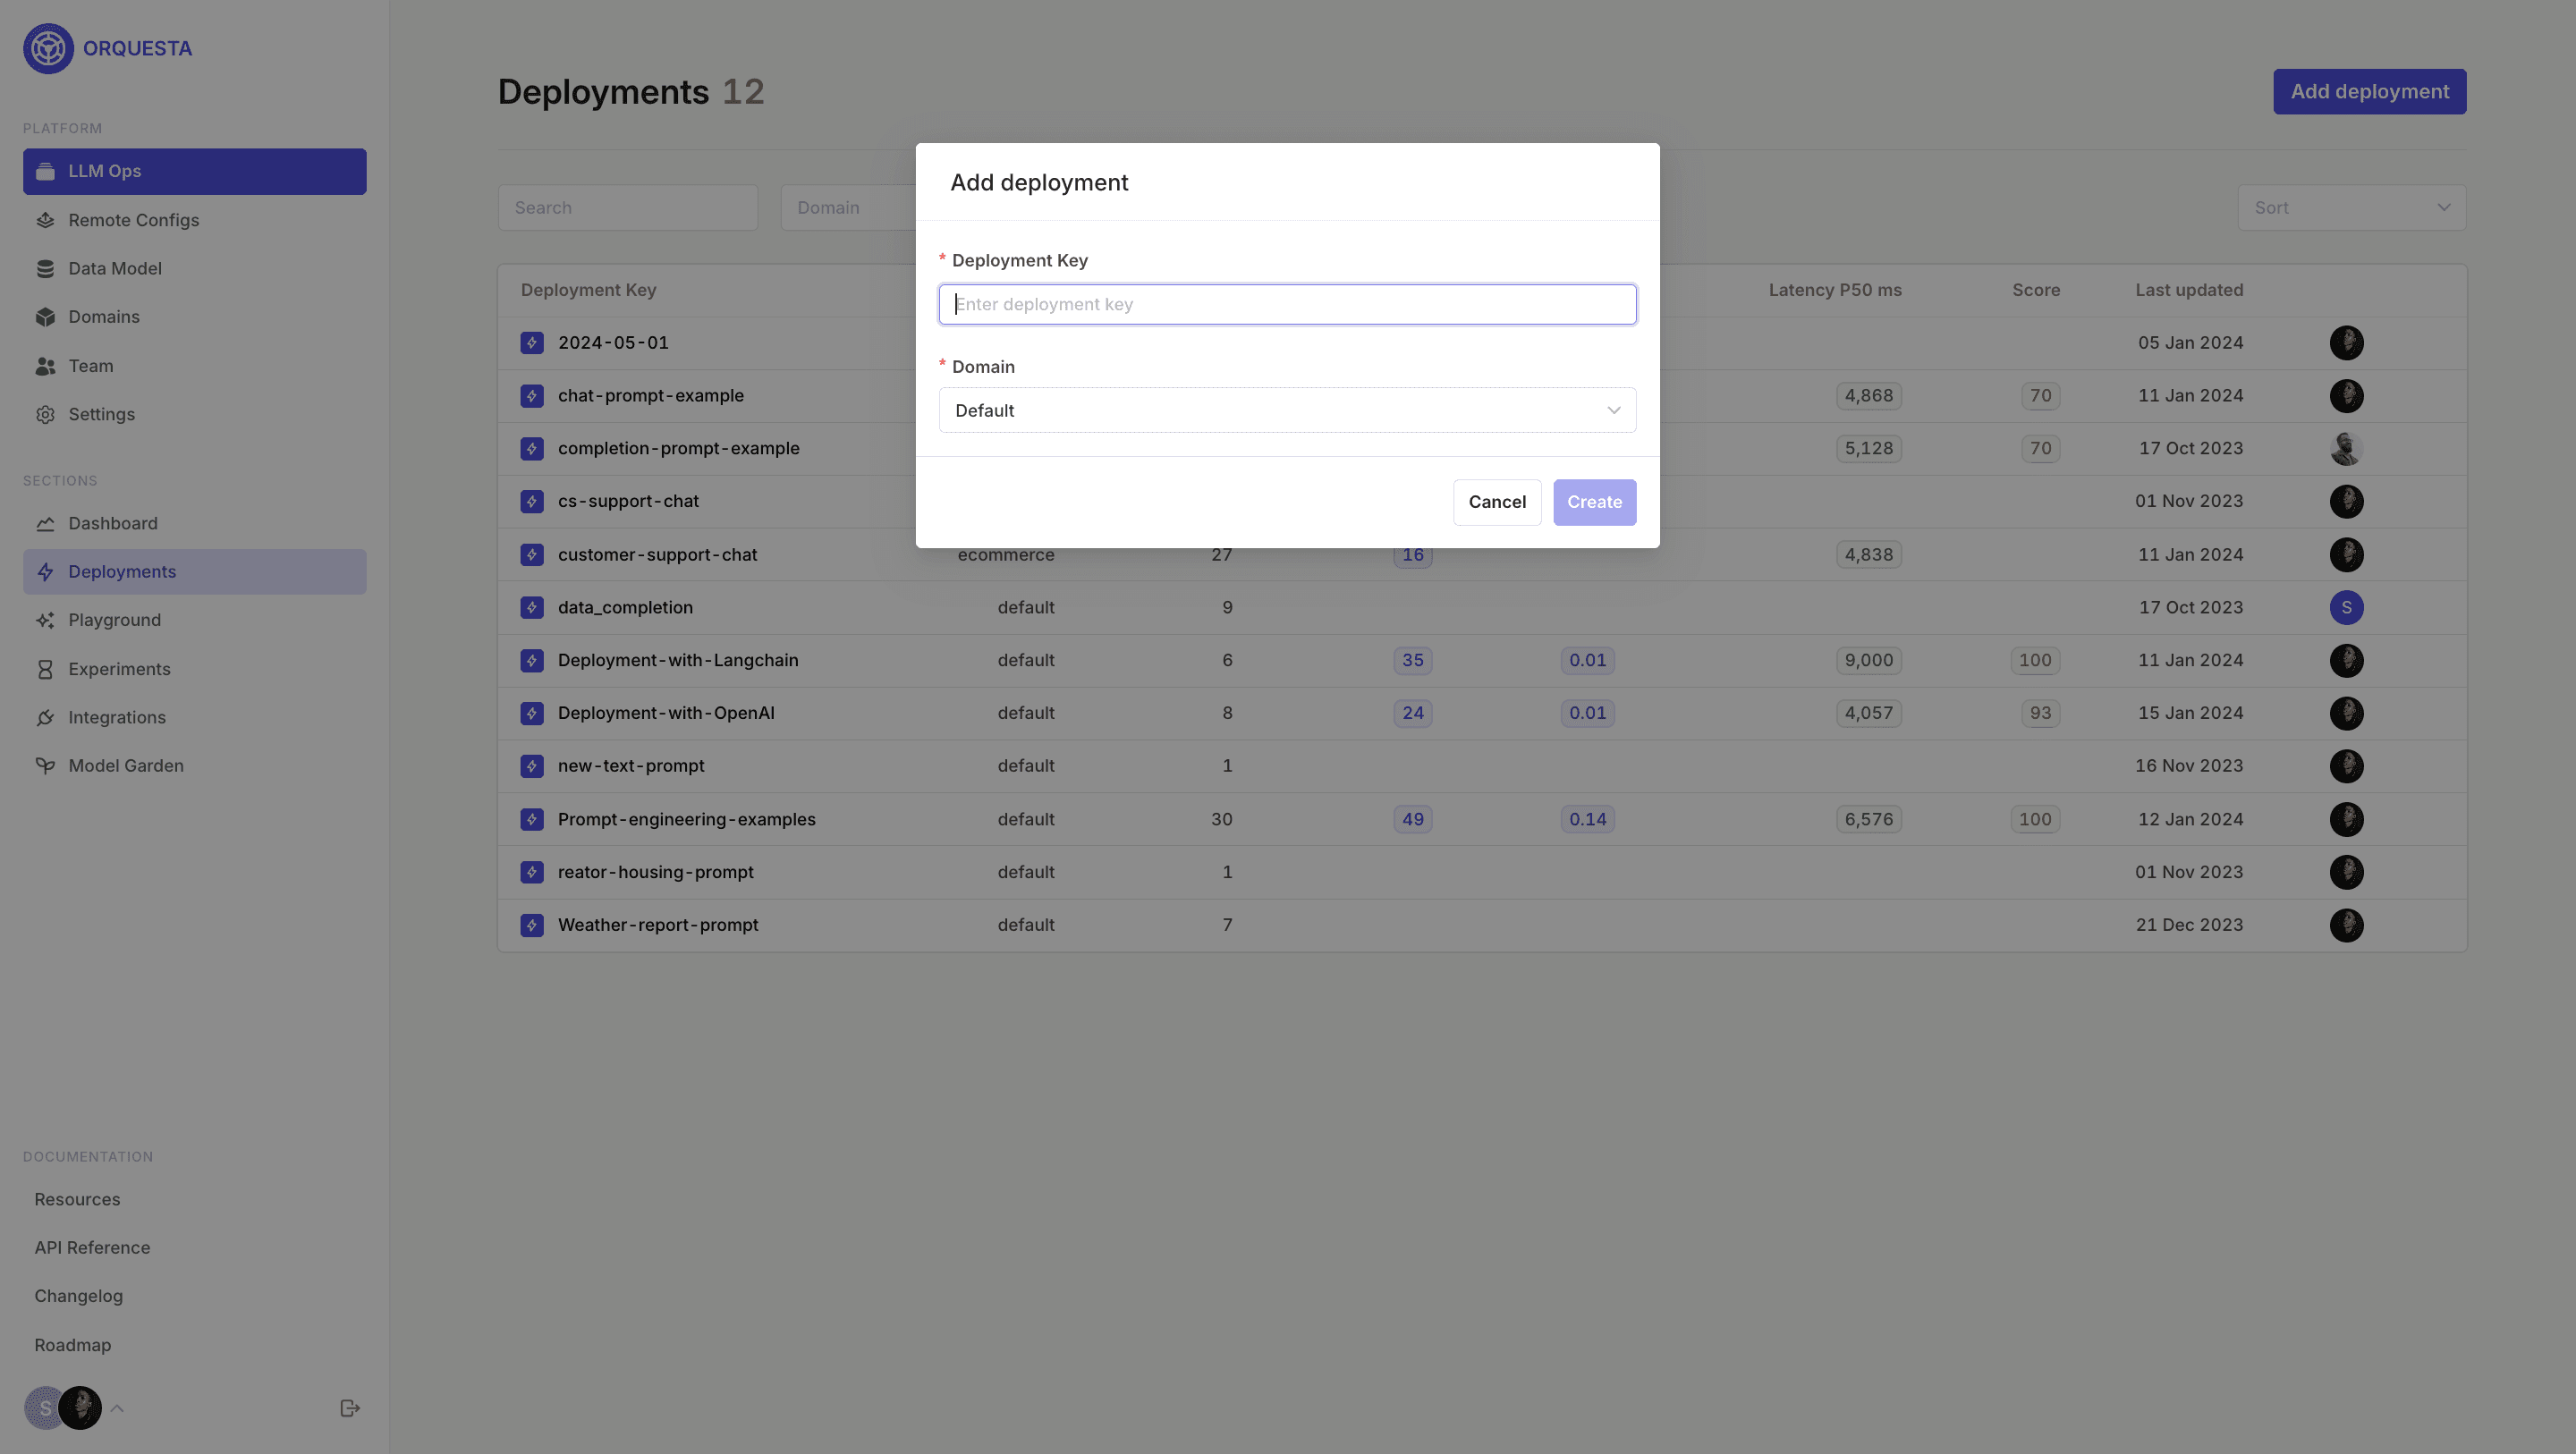
Step 2: Set up a Deployment
After successfully connecting to Orq.ai, you continue within the Orq.ai Admin Panel to set up your Deployment. To create a Deployment, click on Add Deployment , input your Deployment key and Domain.
Create a new variant and configure the Deployment variant.

Orq.ai Deployment enables you to perform prompt engineering, select a primary model, fallback model, retries, and even use variables and functions.
Step 3: Request a Deployment variant from Orq.ai using the SDK
Our flexible configuration matrix allows you to define multiple Deployment variants based on custom context. This allows you to work with different Deployments and hyperparameters, for example, environment, country, locale, or user segment. The Code Snippet Generator makes it easy to request a prompt variant, right-click on the variant, and click on Generate code snippet.

Once you open the Code Snippet Generator, you can use the generated code snippet to fetch the deployment configuration if you use Orq.ai as a prompt management system.

Step 4: Send a payload to OpenAI
Grab the Deployment configuration and paste it into your application. This provides convenient access to the OpenAI REST API from your application.
You can now send the payload to OpenAI and print the response.

Step 5: Log additional metrics to the request
You can add additional metrics to each transaction using the add_metrics method.
Conclusion
You have integrated Orq.ai with OpenAI using the Python SDK! Using Orq.ai, you can easily design, test, and manage Deployments for all your LLM providers using its power tools, including real-time logs, versioning, code snippets, and a playground for your prompts.
Orq.ai supports other SDKs such as Angular, Node.js, React, and TypeScript. Refer to our documentation for more information.