Integrate orq.ai with Langchain
In this article, you will learn how to integrate Orq.ai with Langchain using Python SDK, you will also get to learn how to set a prompt in Orq.ai, and send it to Langchain to predict an output.
August 30, 2023
Author(s)
Orq.ai provides your product teams with no-code collaboration tooling to experiment, operate, and monitor LLMs and remote configurations within your SaaS. As an LLMOps engineer, using Orq.ai, you can easily perform prompt engineering, prompt management, LLMOps, experimentation in production, push new versions directly to production, and have full observability and monitoring.
LangChain is a framework for developing applications powered by large language models. It enables applications that are data-aware to connect a language model to other sources of data, and it allows a language model to interact with its environment.
In this article, you will learn how to integrate Orq.ai and LangChain. We will explain how to set a prompt in Orq.ai and request it from Langchain to predict an output. All this is possible with the help of the Orq.ai Python SDK and can be implemented in a few easy steps.
Prerequisites
For you to be able to follow along in this tutorial, you will need the following:
Jupyter Notebook (or any IDE of your choice)
Orq.ai Python SDK
Step 1: Install SDK and create a client instance
You can easily install the Python SDK and Cohere via the Python package installer pip.
This will install the Orq.ai SDK and Langchain on your local machine, but you need to understand that this command will only install the bare minimum requirements of Langchain. A lot of the value of Langchain comes from integrating it with various model providers, data stores, etc.
Grab your API key from Orq.ai (https://my.orquesta.dev/<workspace-name>/settings/developers ) which will be used to create a client instance.
The
OrquestaClientOptionsand theOrquestaclasses that are already defined in theorquesta_sdkmodule are imported.Add your Orq.ai API key to the
api_keyvariable.Using the
OrquestaClientOptions, set your API key and the environment you will be working on.Initializes the Orq.ai client.
Imports modules related to LangChain (The
AIMessageclass is a message from an AI,HumanMessageis a message from a human, and theSystemMessageis a message for priming AI behavior, usually passed in as the first of a sequence of input messages, TheChatOpenAIclass is an OpenAI Chat large language models API)Add your OpenAI API key.
Step 2: Set up a Deployment
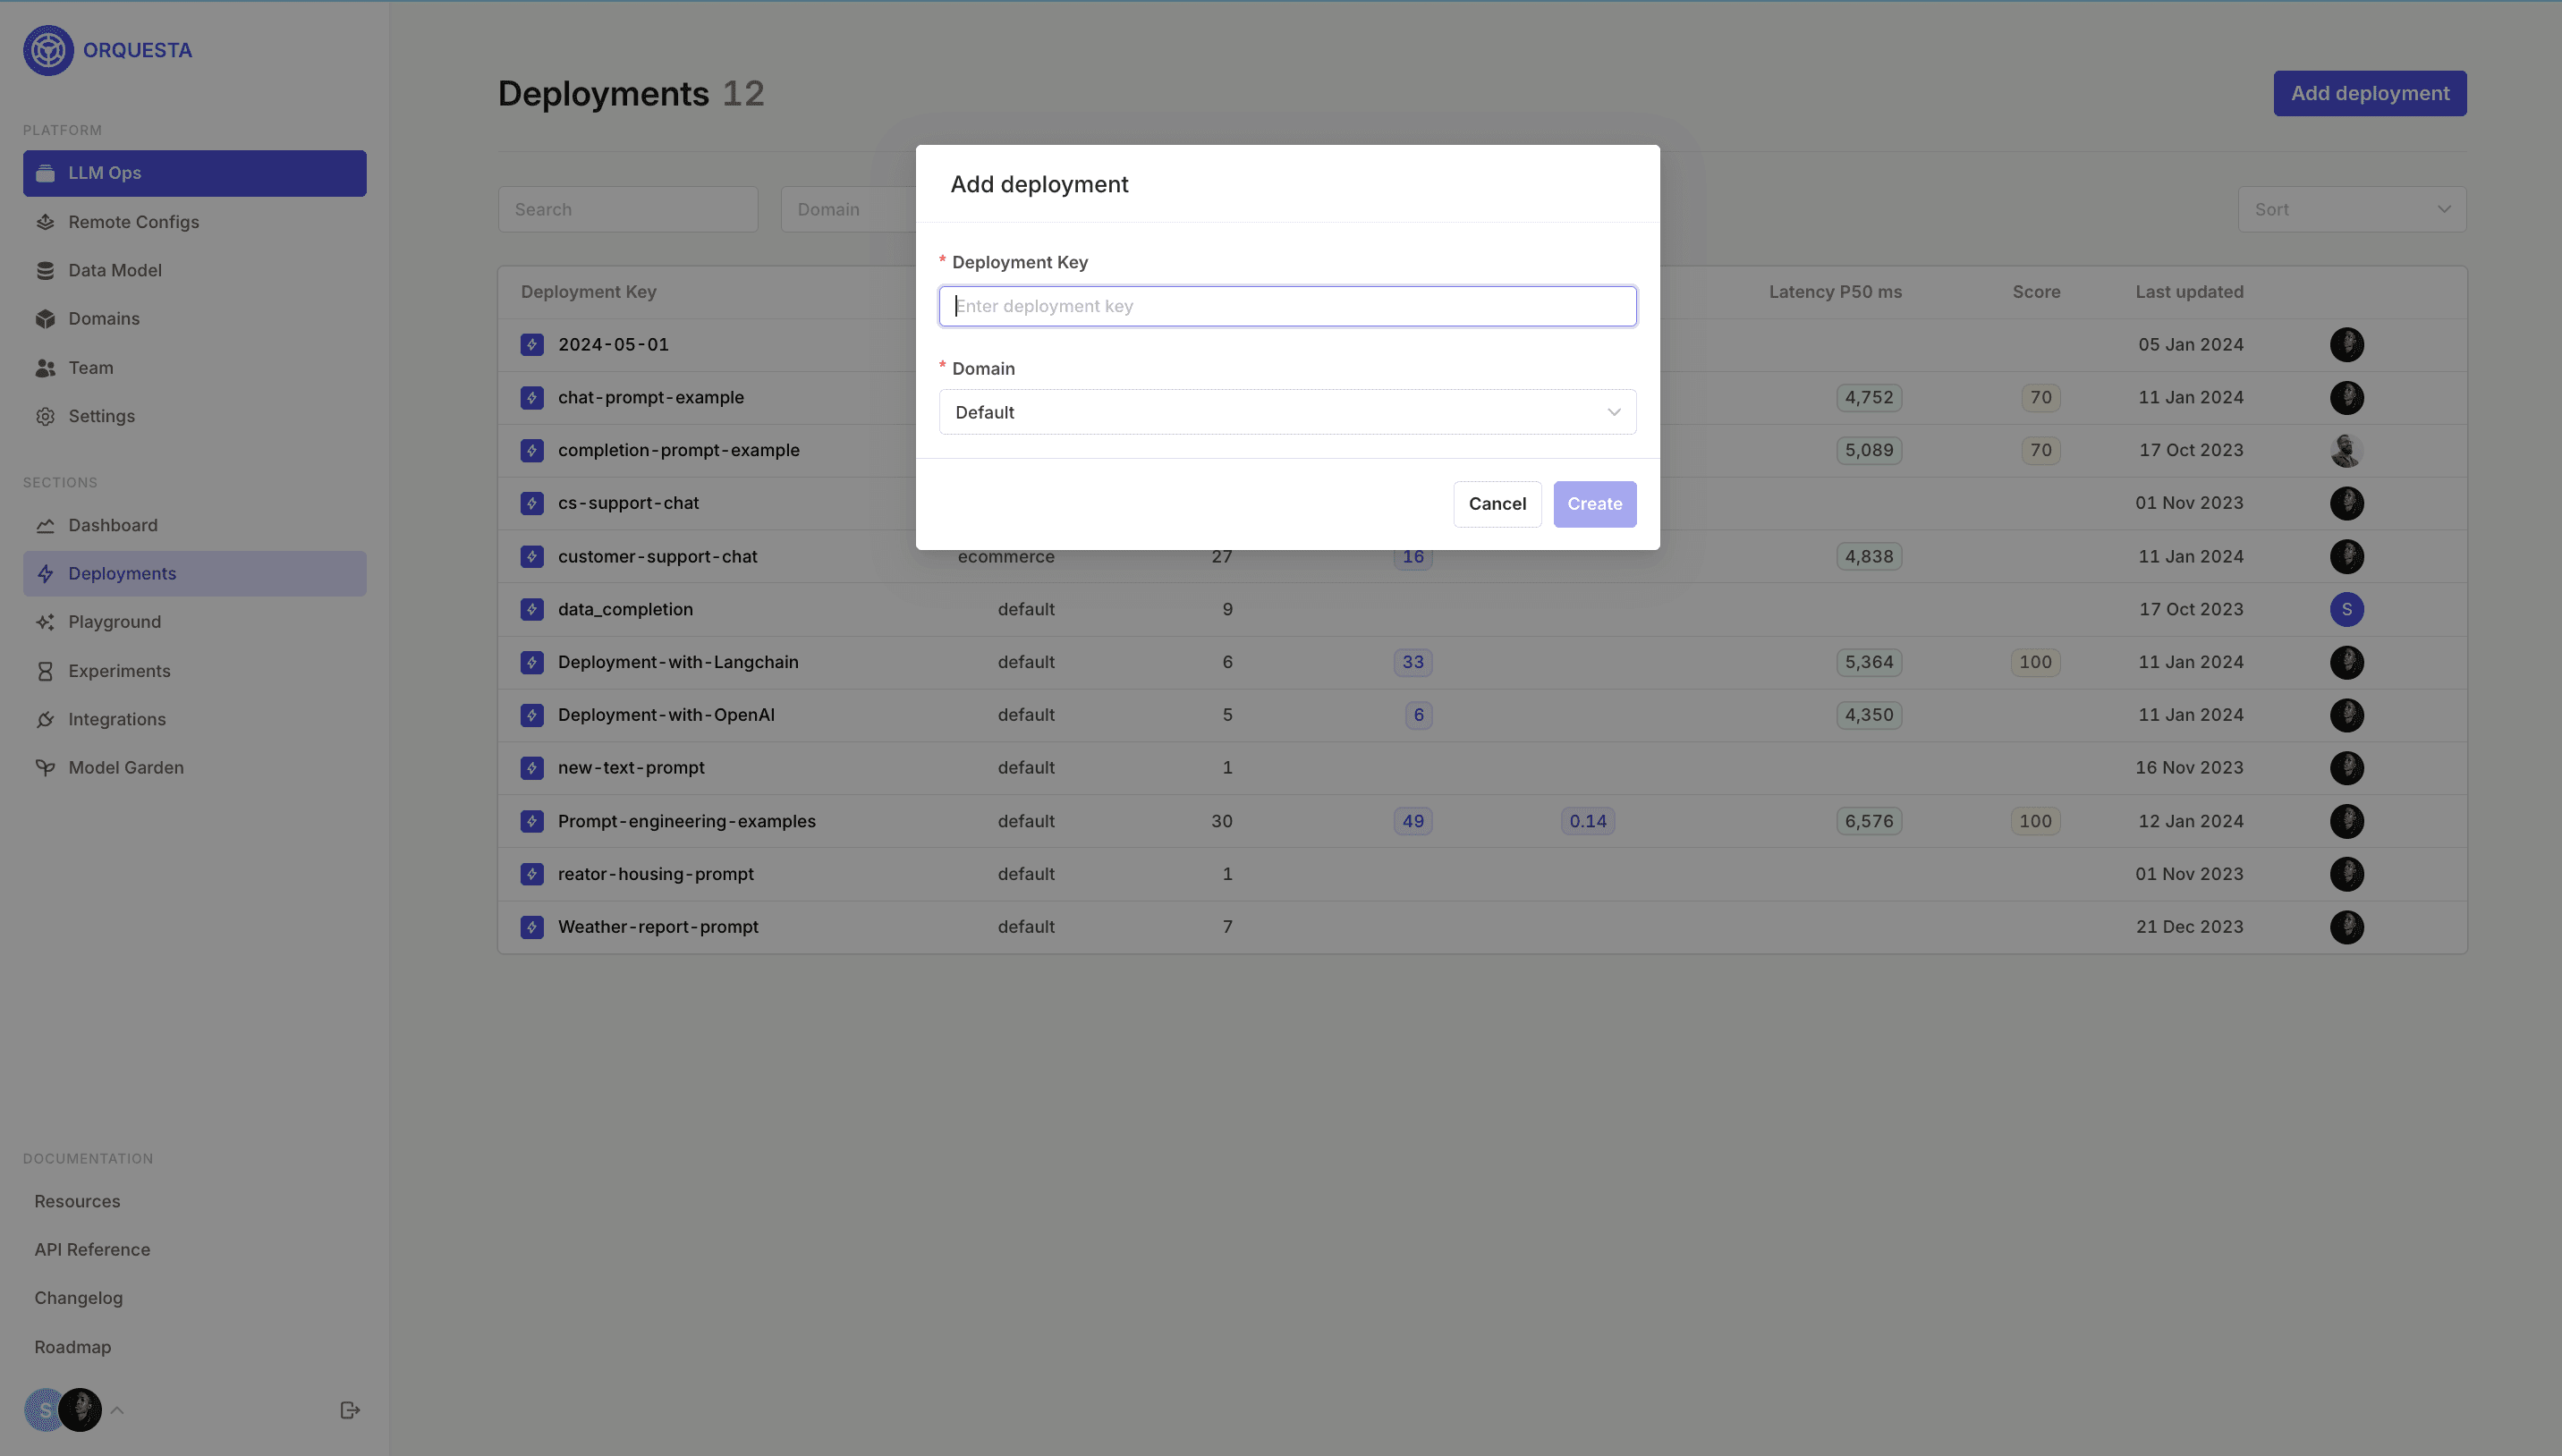
Set up your Deployment in Orq.ai, fill in the input boxes, and click the Create button.

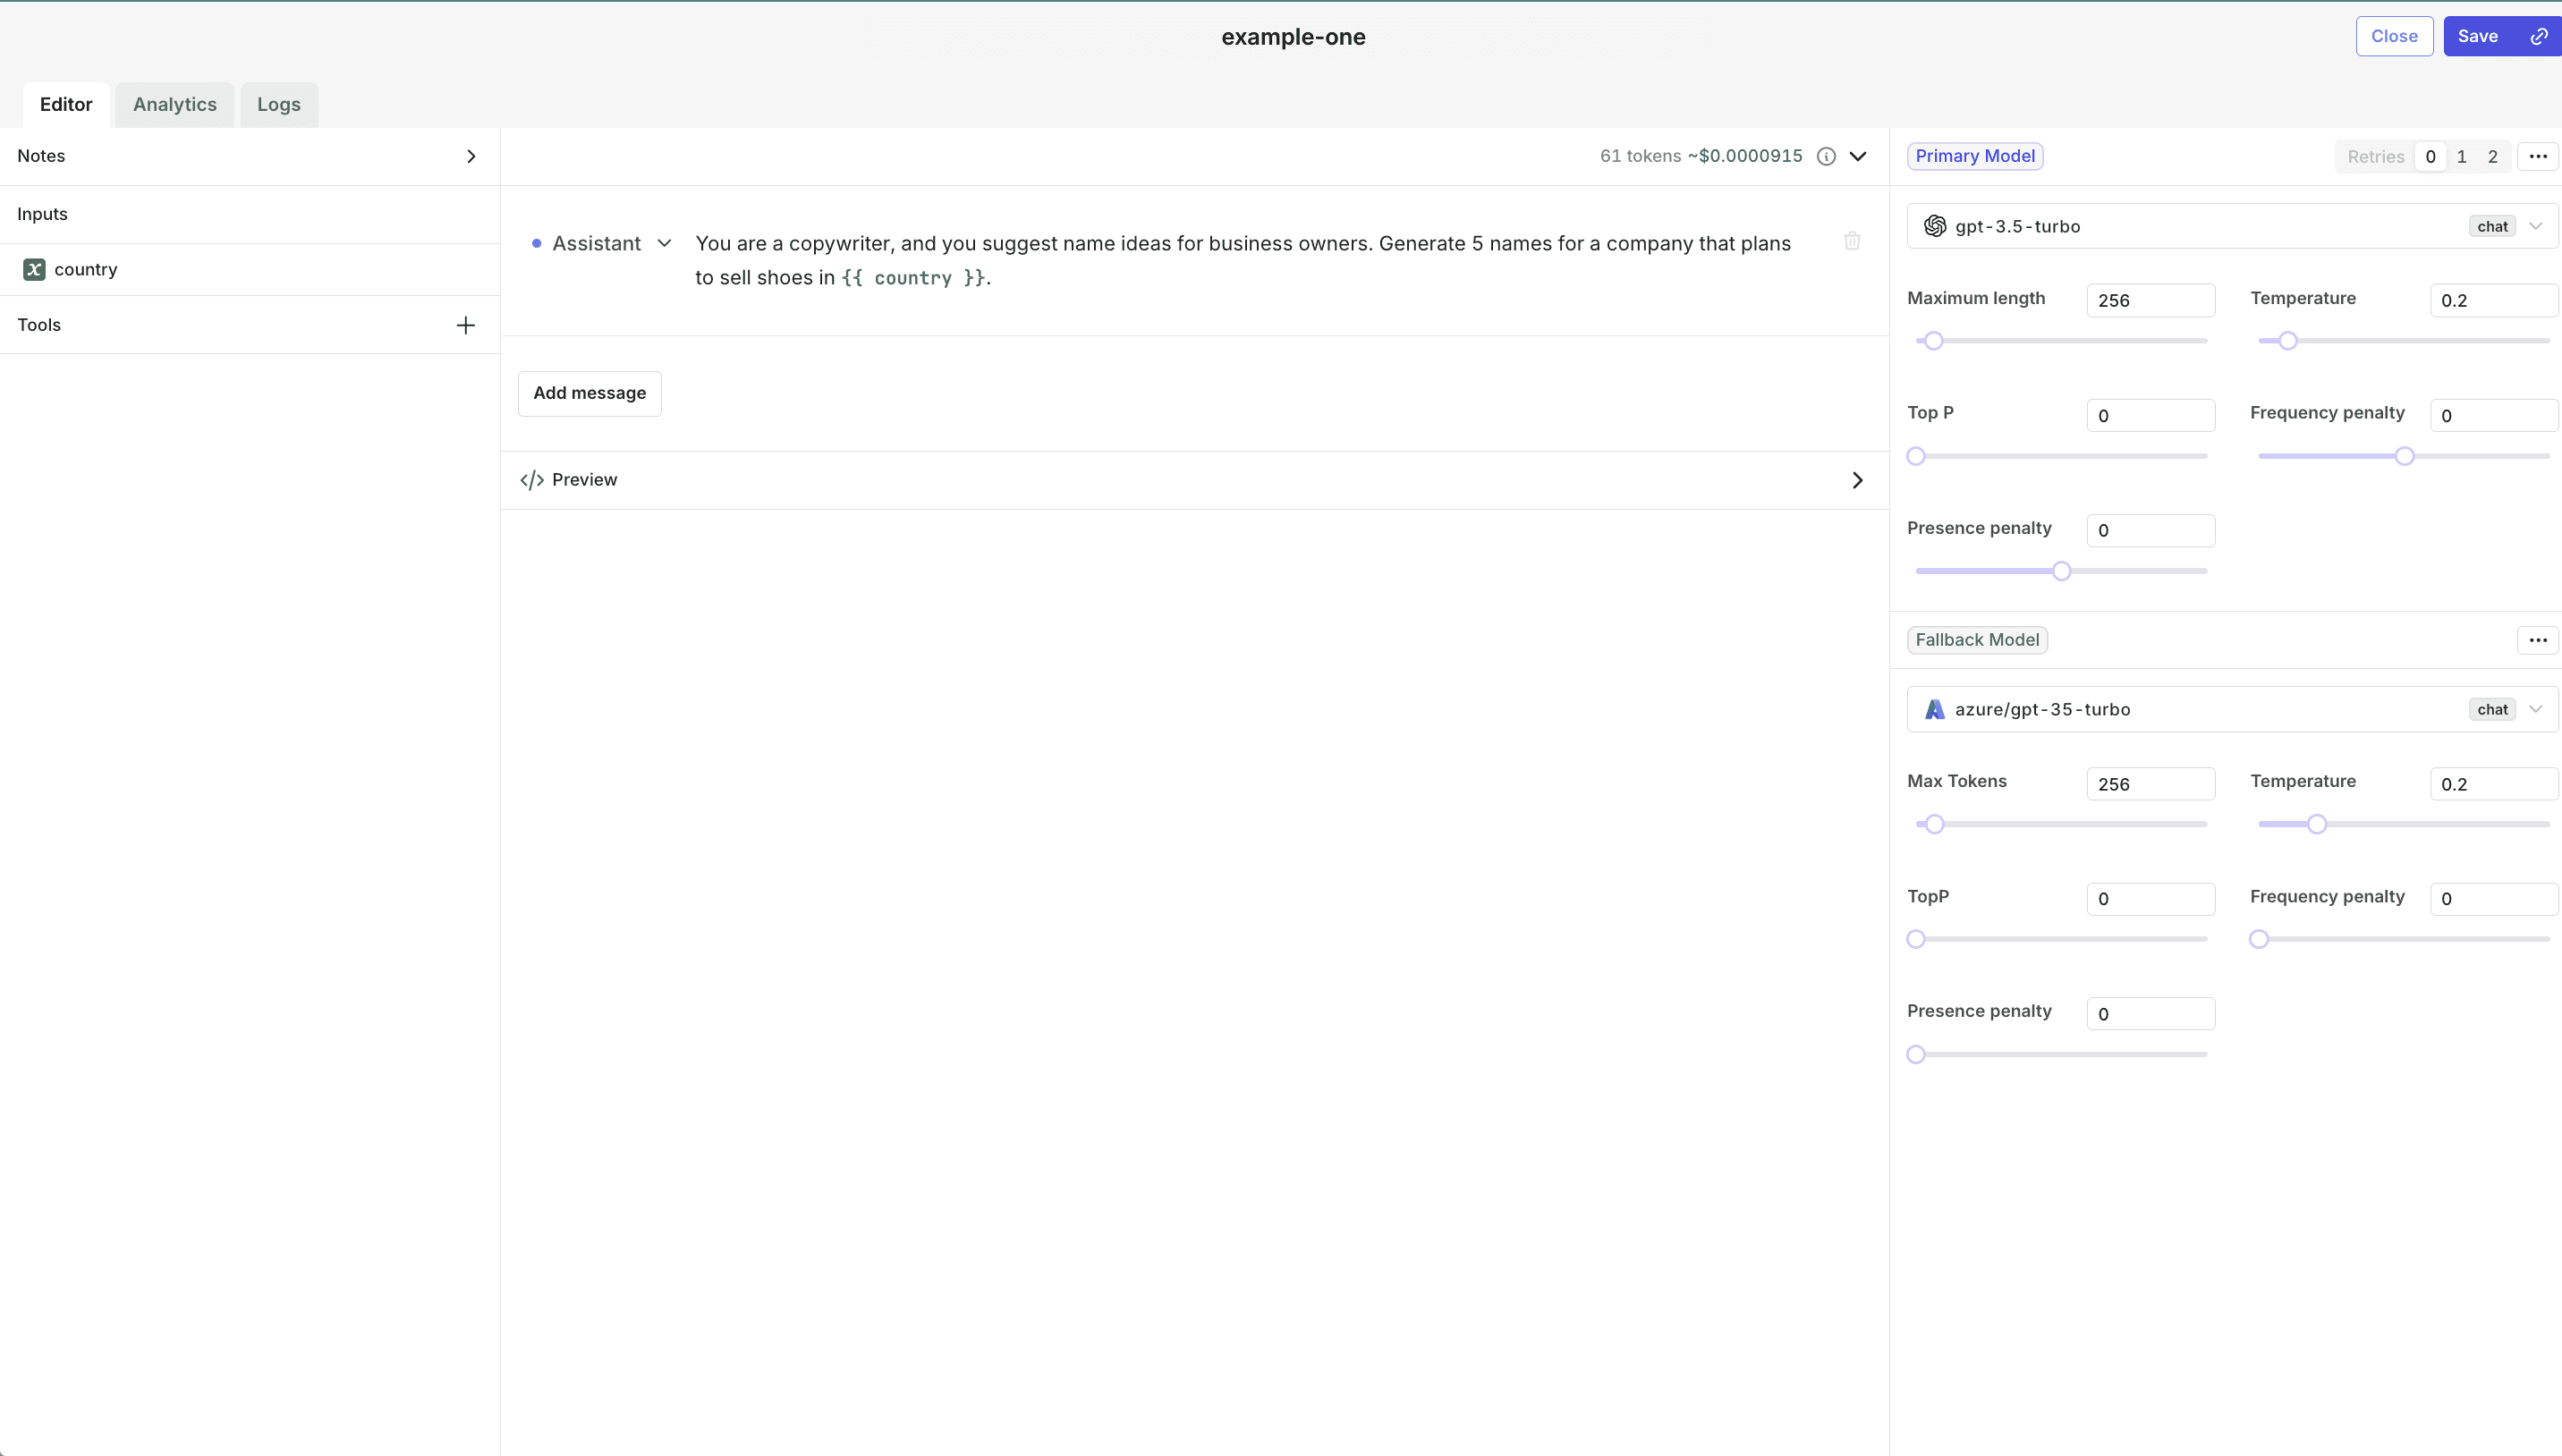
Set up your first variant, by adding your prompt, the primary model, the number of retries, and a fallback model. Once you are done, click on the Save button.

As you can see from the screenshot, the prompt message is "You are a copywriter, and you suggest name ideas for business owners. Generate 5 names for a company that plans to sell shoes in {{ country }}". The {{ country }} in the prompt message is a variable. The model is openai/gpt-3.5-turbo , retries 0, and the fallback model is azure/gpt-35-turbo .
Step 3: Request a variant from Orq.ai
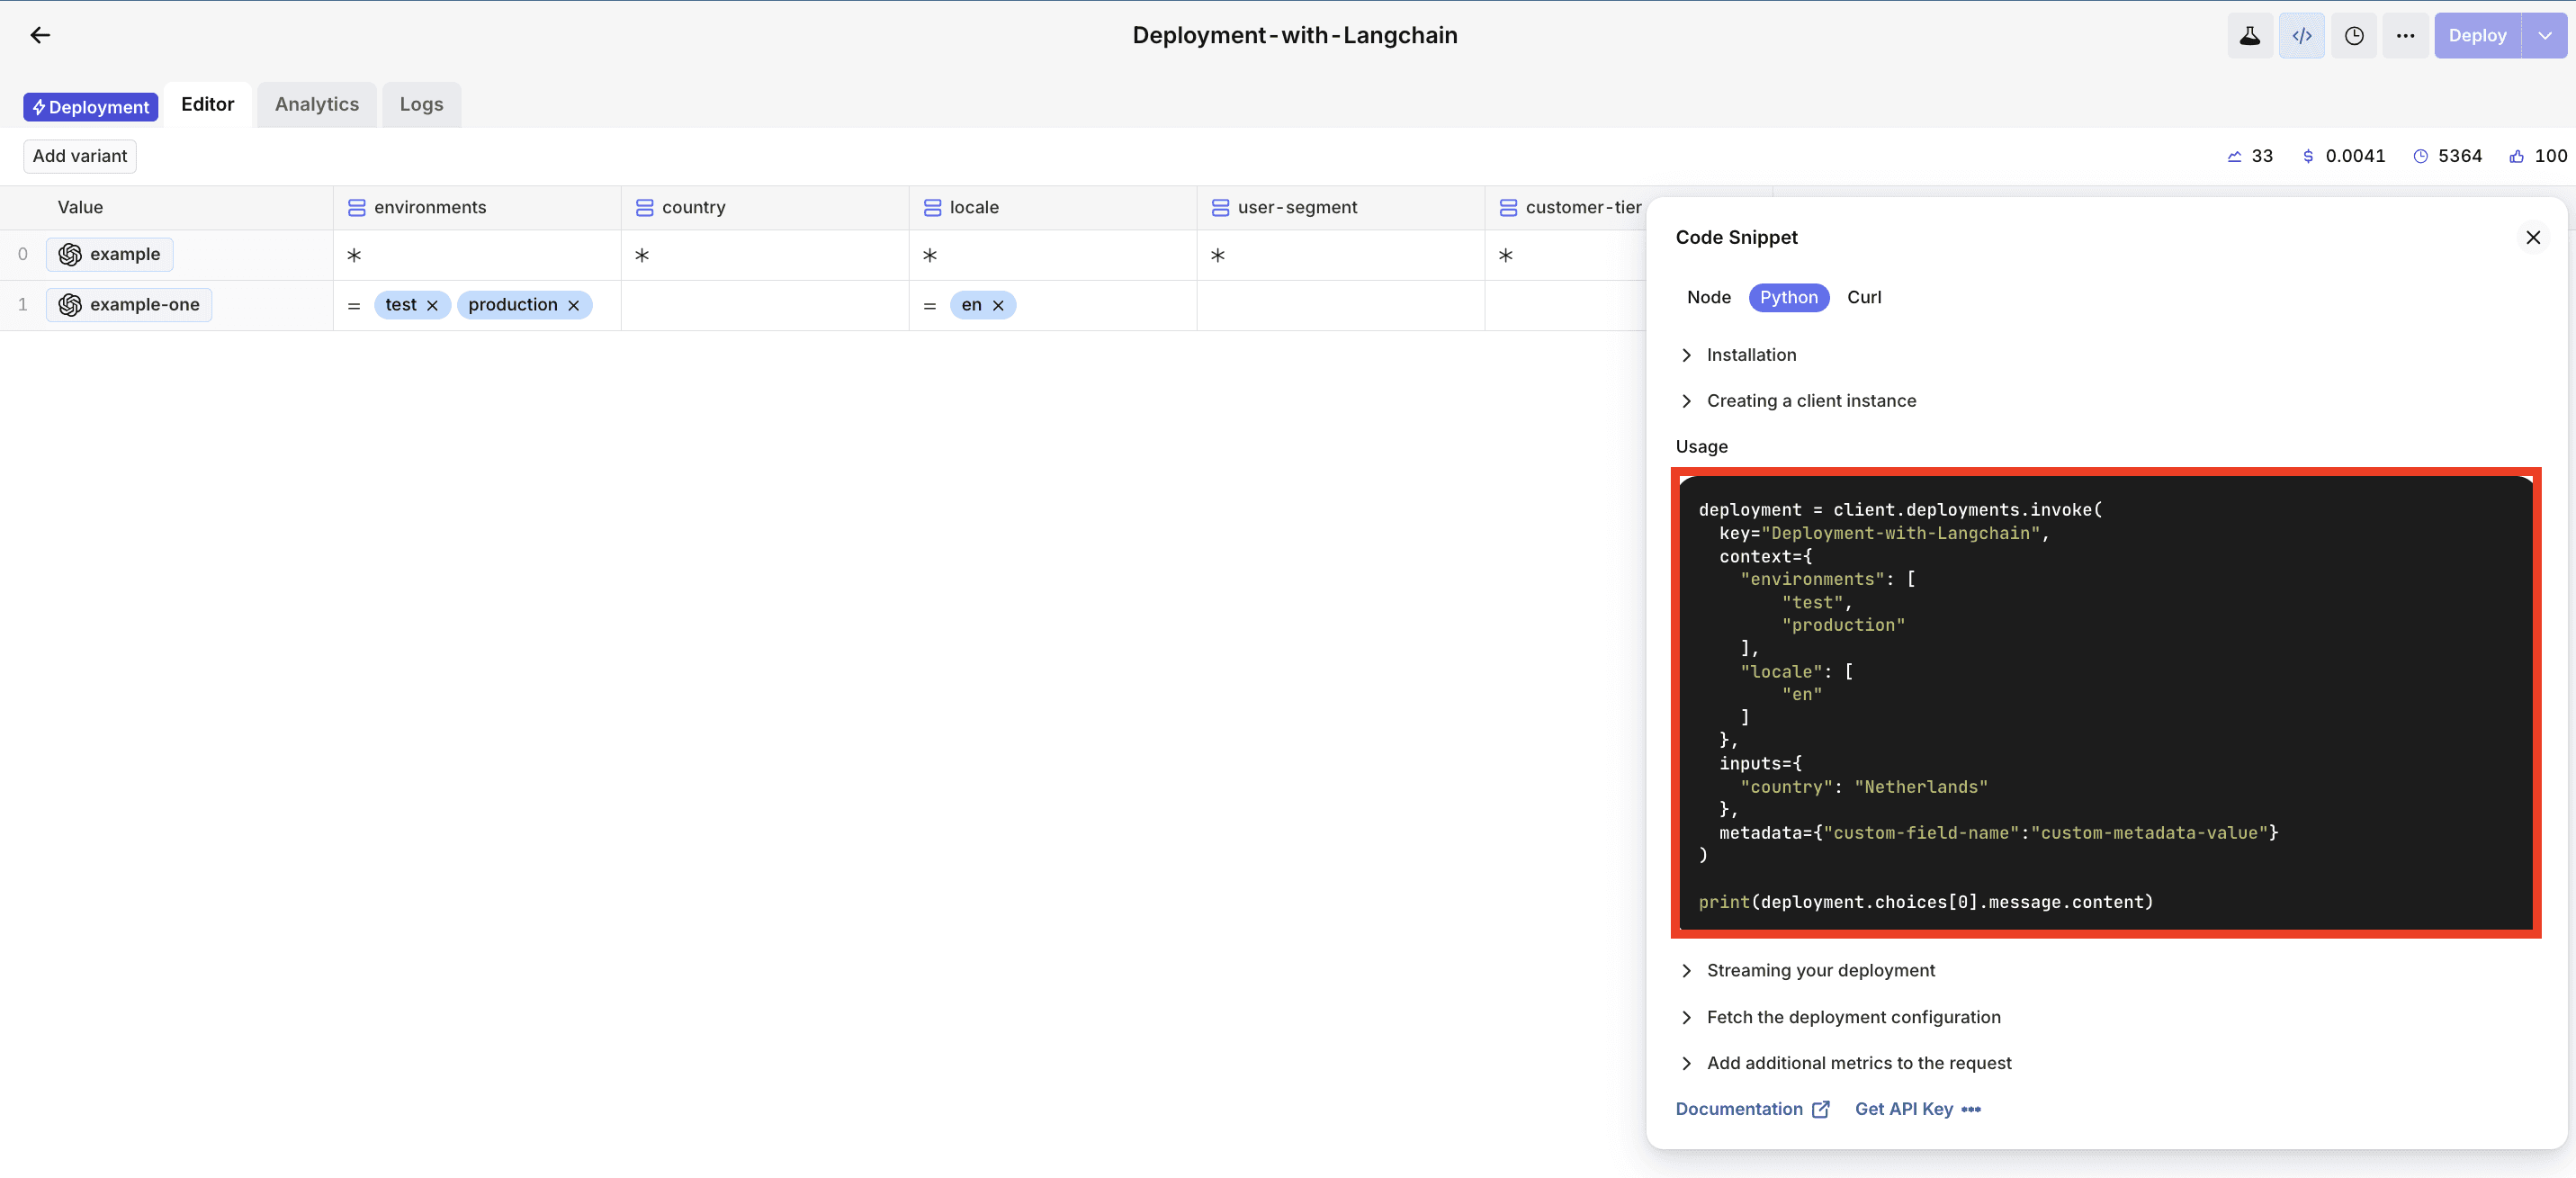
To request a specific variant from your newly created Deployment, the Code Snippet Generator can easily generate the code for a prompt variant by right-clicking on the prompt or opening the Code Snippet component.

Copy the code snippet and paste it into your editor.
Step 4: Transform the message into Langchain format
The prompt from Orq.ai is transformed into a format to pass into Langchain.
Initialize an empty list named
chat_messages, which will store message objects.Processes the retrieved messages from the deployment configuration, categorizing them into system messages, user messages, and assistant messages using a for loop.
Initializes the ChatOpenAI class with the OpenAI API key and the model name obtained from the Deployment configuration.
Create a ChatPromptTemplate from the categorized chat messages.
Initialize the LLMChain with the ChatOpenAI instance and the created prompt template.
Finally, you invoke the LLMChain, which interacts with the OpenAI Chat API, generating responses based on the provided chat messages and the specified model.
Full code
Here is the full code for this tutorial.


